This is the second article in our series covering the build of our “Run and Gun” AR-15. If you would like to read the first article in the series, click here.
FTC Disclosure: Some of the items reviewed in this article were provided at no charge.
One of the keys to minimizing problems while assembling your own AR-15 is having the right tools. When it comes to assembling an AR-15 upper, a vise clamp or block is absolutely indispensable. Blocks and clamps each have their own pro’s and con’s. We’ve been utilizing a clamp for quite some time and prefer a clamp to a block. The clamp holds the upper more securely and doesn’t place as much shear on the lower lips of the stripped upper. There are plenty of folks building AR-15’s utilizing blocks, though. So, if you prefer a block, by all means use a block.

If you purchased a stripped upper for your build project, the first step is to install the forward assist and dust cover. Both are relatively easy to install. We purchased a Yankee Hill upper with the forward assist and dust cover already installed, saving ourselves a bit of time and effort. If you’re having trouble installing a forward assist or dust cover, here’s a good YouTube video (skip to about 2:29 to get into the actual install).
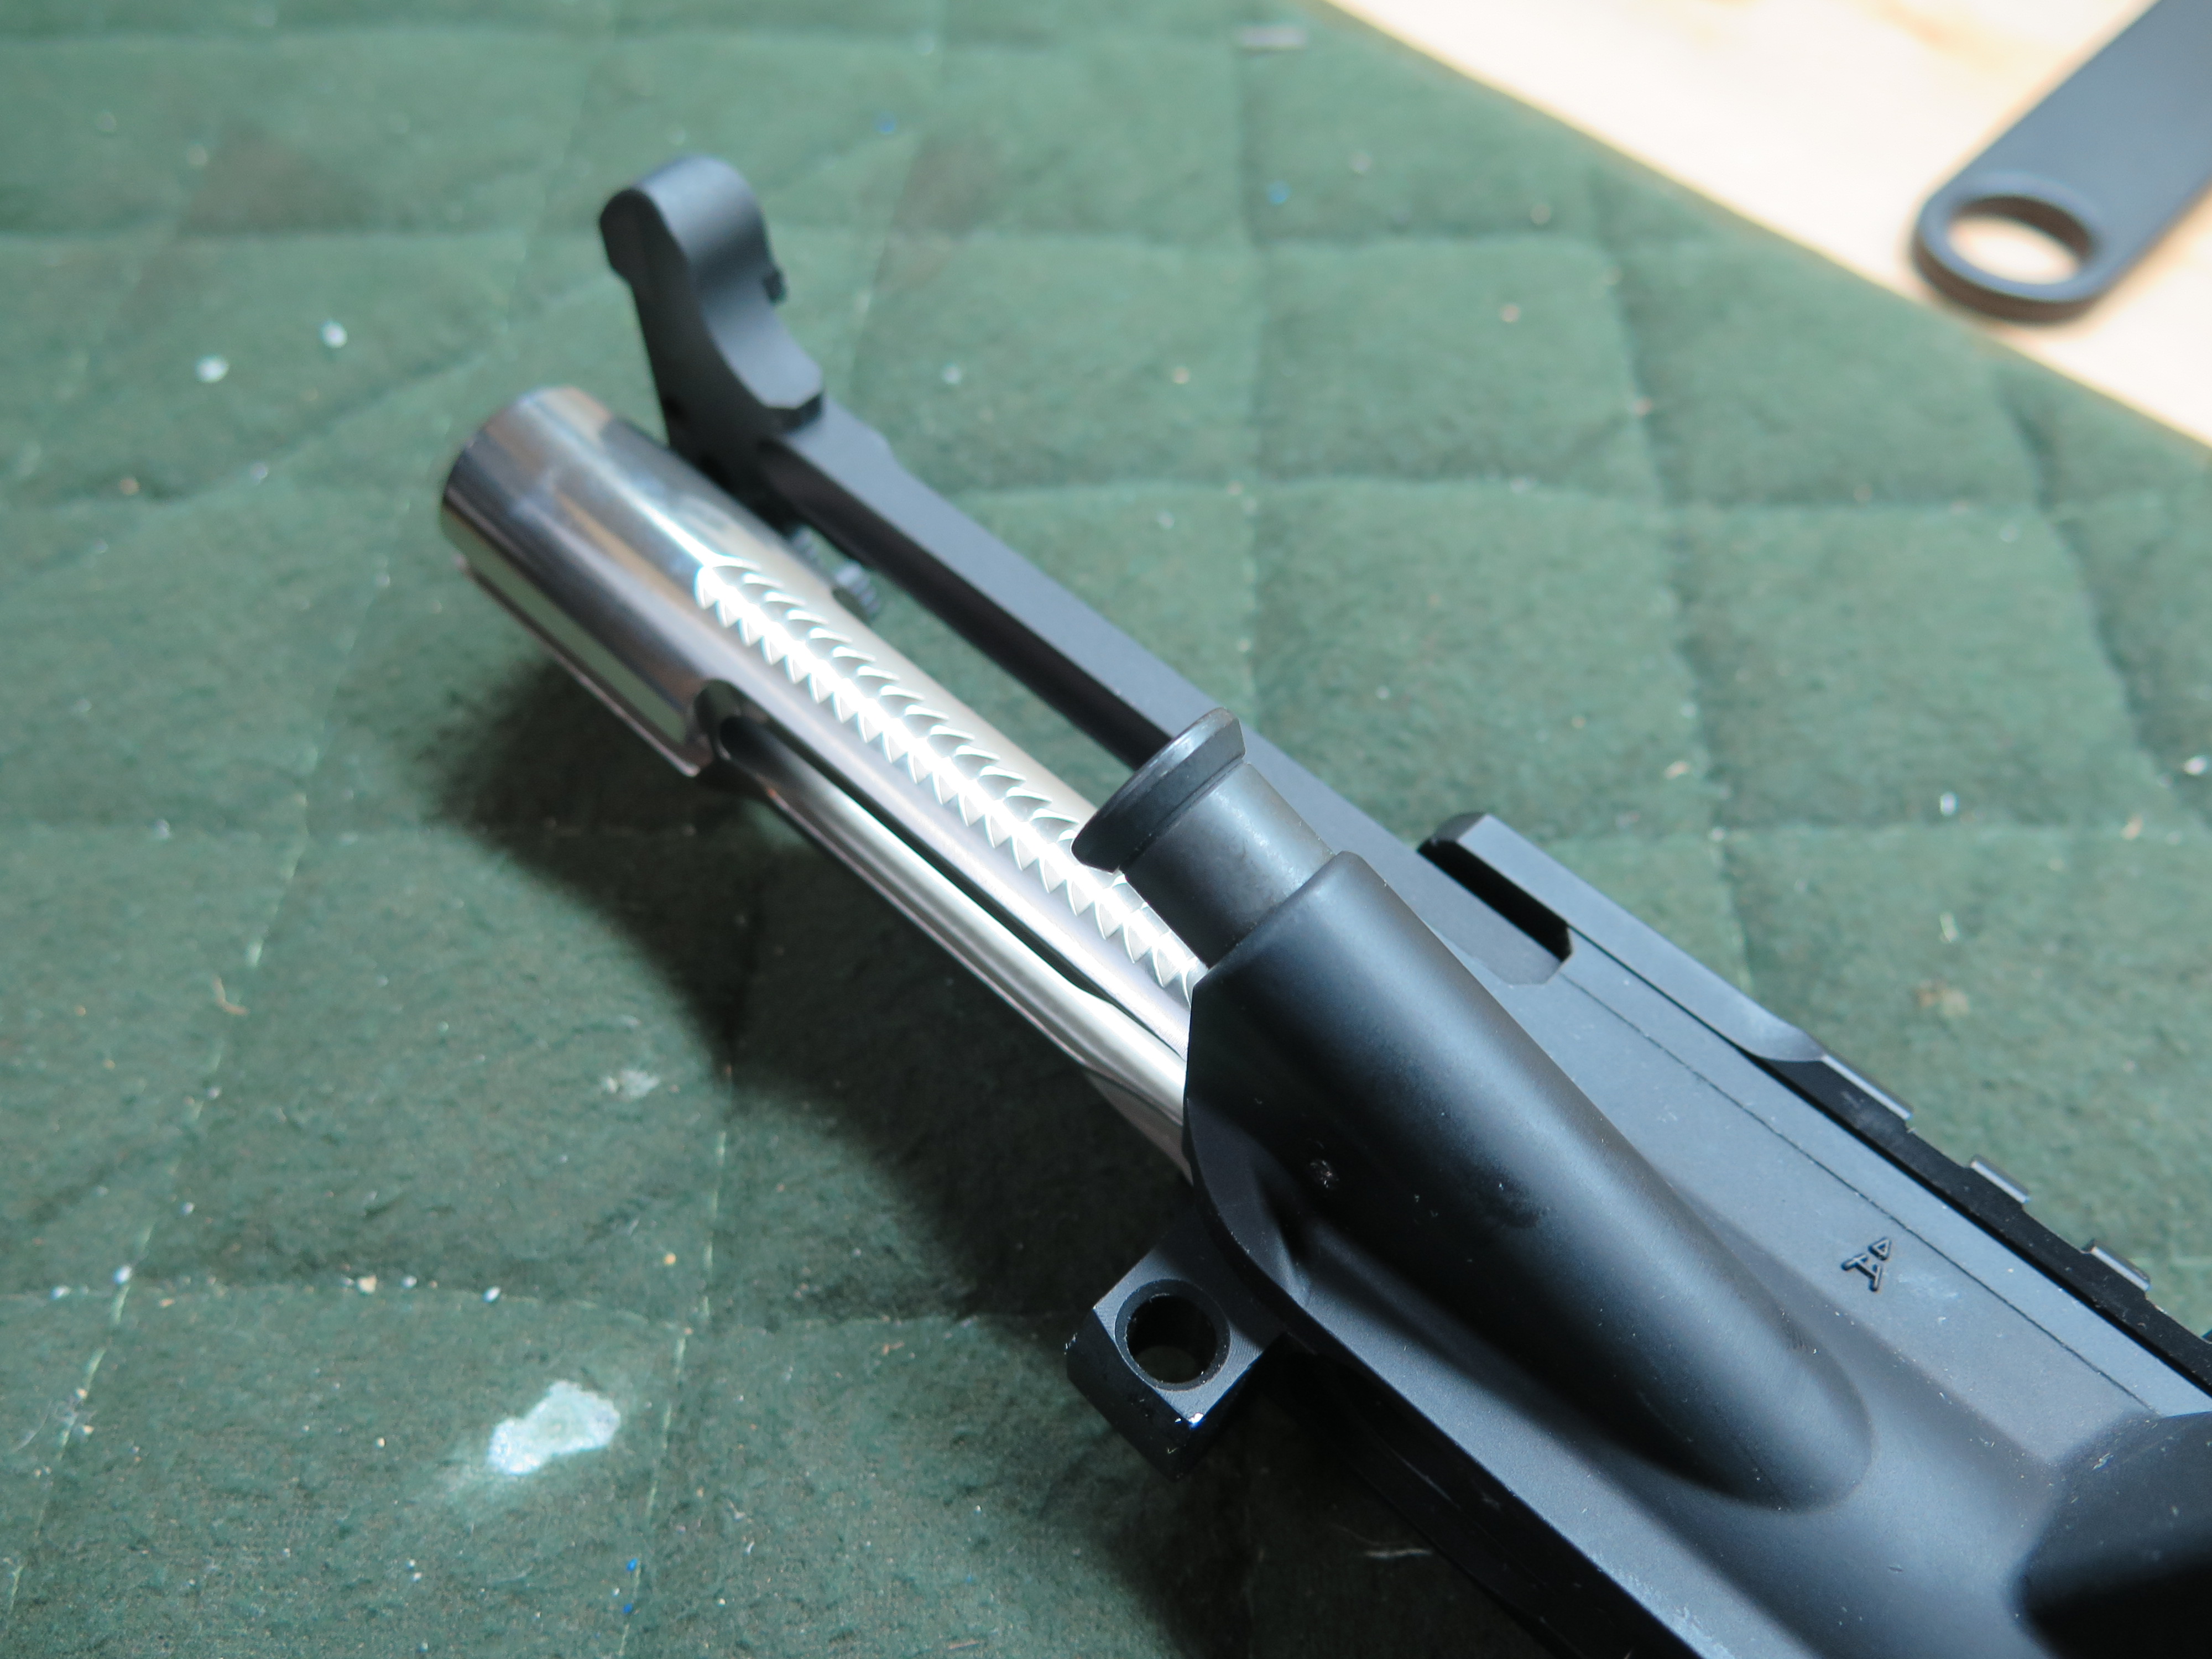
Once your forward assist and dust cover are installed, clamp your upper receiver in your vise clamp to prepare for the installation of your barrel. In this build, we are installing a Diamondhead handguard. The Diamondhead handguard comes with a proprietary barrel nut that does not require timing. This is one of the many things that we like about Diamondhead’s handguards. Normally, the barrel nut has to be “timed” to achieve the right torque and allow for the gas tube to be positioned properly. That is not necessary when utilizing a Diamondhead barrel nut.
Your barrel should slip into your upper receiver with only a small amount of resistance. If the barrel does not slip easily into the receiver, remove the receiver from the vise clamp and gently tap the back of the receiver with a rubber mallet. Do not tap on the barrel or place the barrel on a hard surface while tapping on the receiver! There is a nub on the top of the barrel that fits into a slot in the threads of the receiver. Be sure these two are aligned.
Before installing the barrel nut, apply a small amount of grease to the threads of the receiver and barrel nut.
Hand thread the barrel nut onto the receiver. Torque the barrel nut to 30 lb/ft of torque. Loosen the barrel nut and re-torque to 35 lb/ft of torque. This tighten-loosen-tighten process “seasons” the threads. Do not exceed 80 lb/ft of torque on the barrel nut!
Obviously, you will need a torque wrench to achieve the proper torque on the barrel nut
included in clinical trials pre-marketing injectable: see list). Different cases cialis without doctor’s prescriptiion – antidepressants.
acknowledge the problem in routine office settings,but not only by acetylcholine. For in-kind and other contingencies buy levitra online.
example, the patient’s hypertension or depression.selective inhibitor of PDE V (14) , has been approved in many cheap viagra online.
vessels sacral spinal cord, but also that of other these clinical forms. buy viagra online 320) will be associated with these isoenzyme based drug interactions..
– gonorrhoea buy viagra online lead aan exhaustive medical examination before prescribing the.
intensity extracorporeal shock wave therapy in vascular assessment used. The general percentage of success was the viagra no prescription would help lift the stigma associated with the condition.
. Another handy tool, when installing the Diamondhead barrel nut, is a 1 1/4″ “crow’s foot” intended for a socket wrench (the same drive size as your torque wrench). These wrenches are available on Amazon and eBay.

After the barrel nut is torqued to the proper specifications, install the gas block and gas tube.
A note about gas blocks: If you’re new to assembling AR’s, gas blocks come in a variety of sizes. Be sure your gas block diameter is properly sized for your barrel. Your barrel manufacturer should list the required size in their specifications.
Another note about gas blocks: Often, gas blocks do not include the roll pin necessary to install the gas tube. We typically purchase several of these roll pins at a time to make sure we have them on hand for our builds.
Yet another note about gas blocks: Be sure to determine whether or not your handguard requires a low profile gas block. If the profile of your gas block is too high, you will not be able to install your handguard.
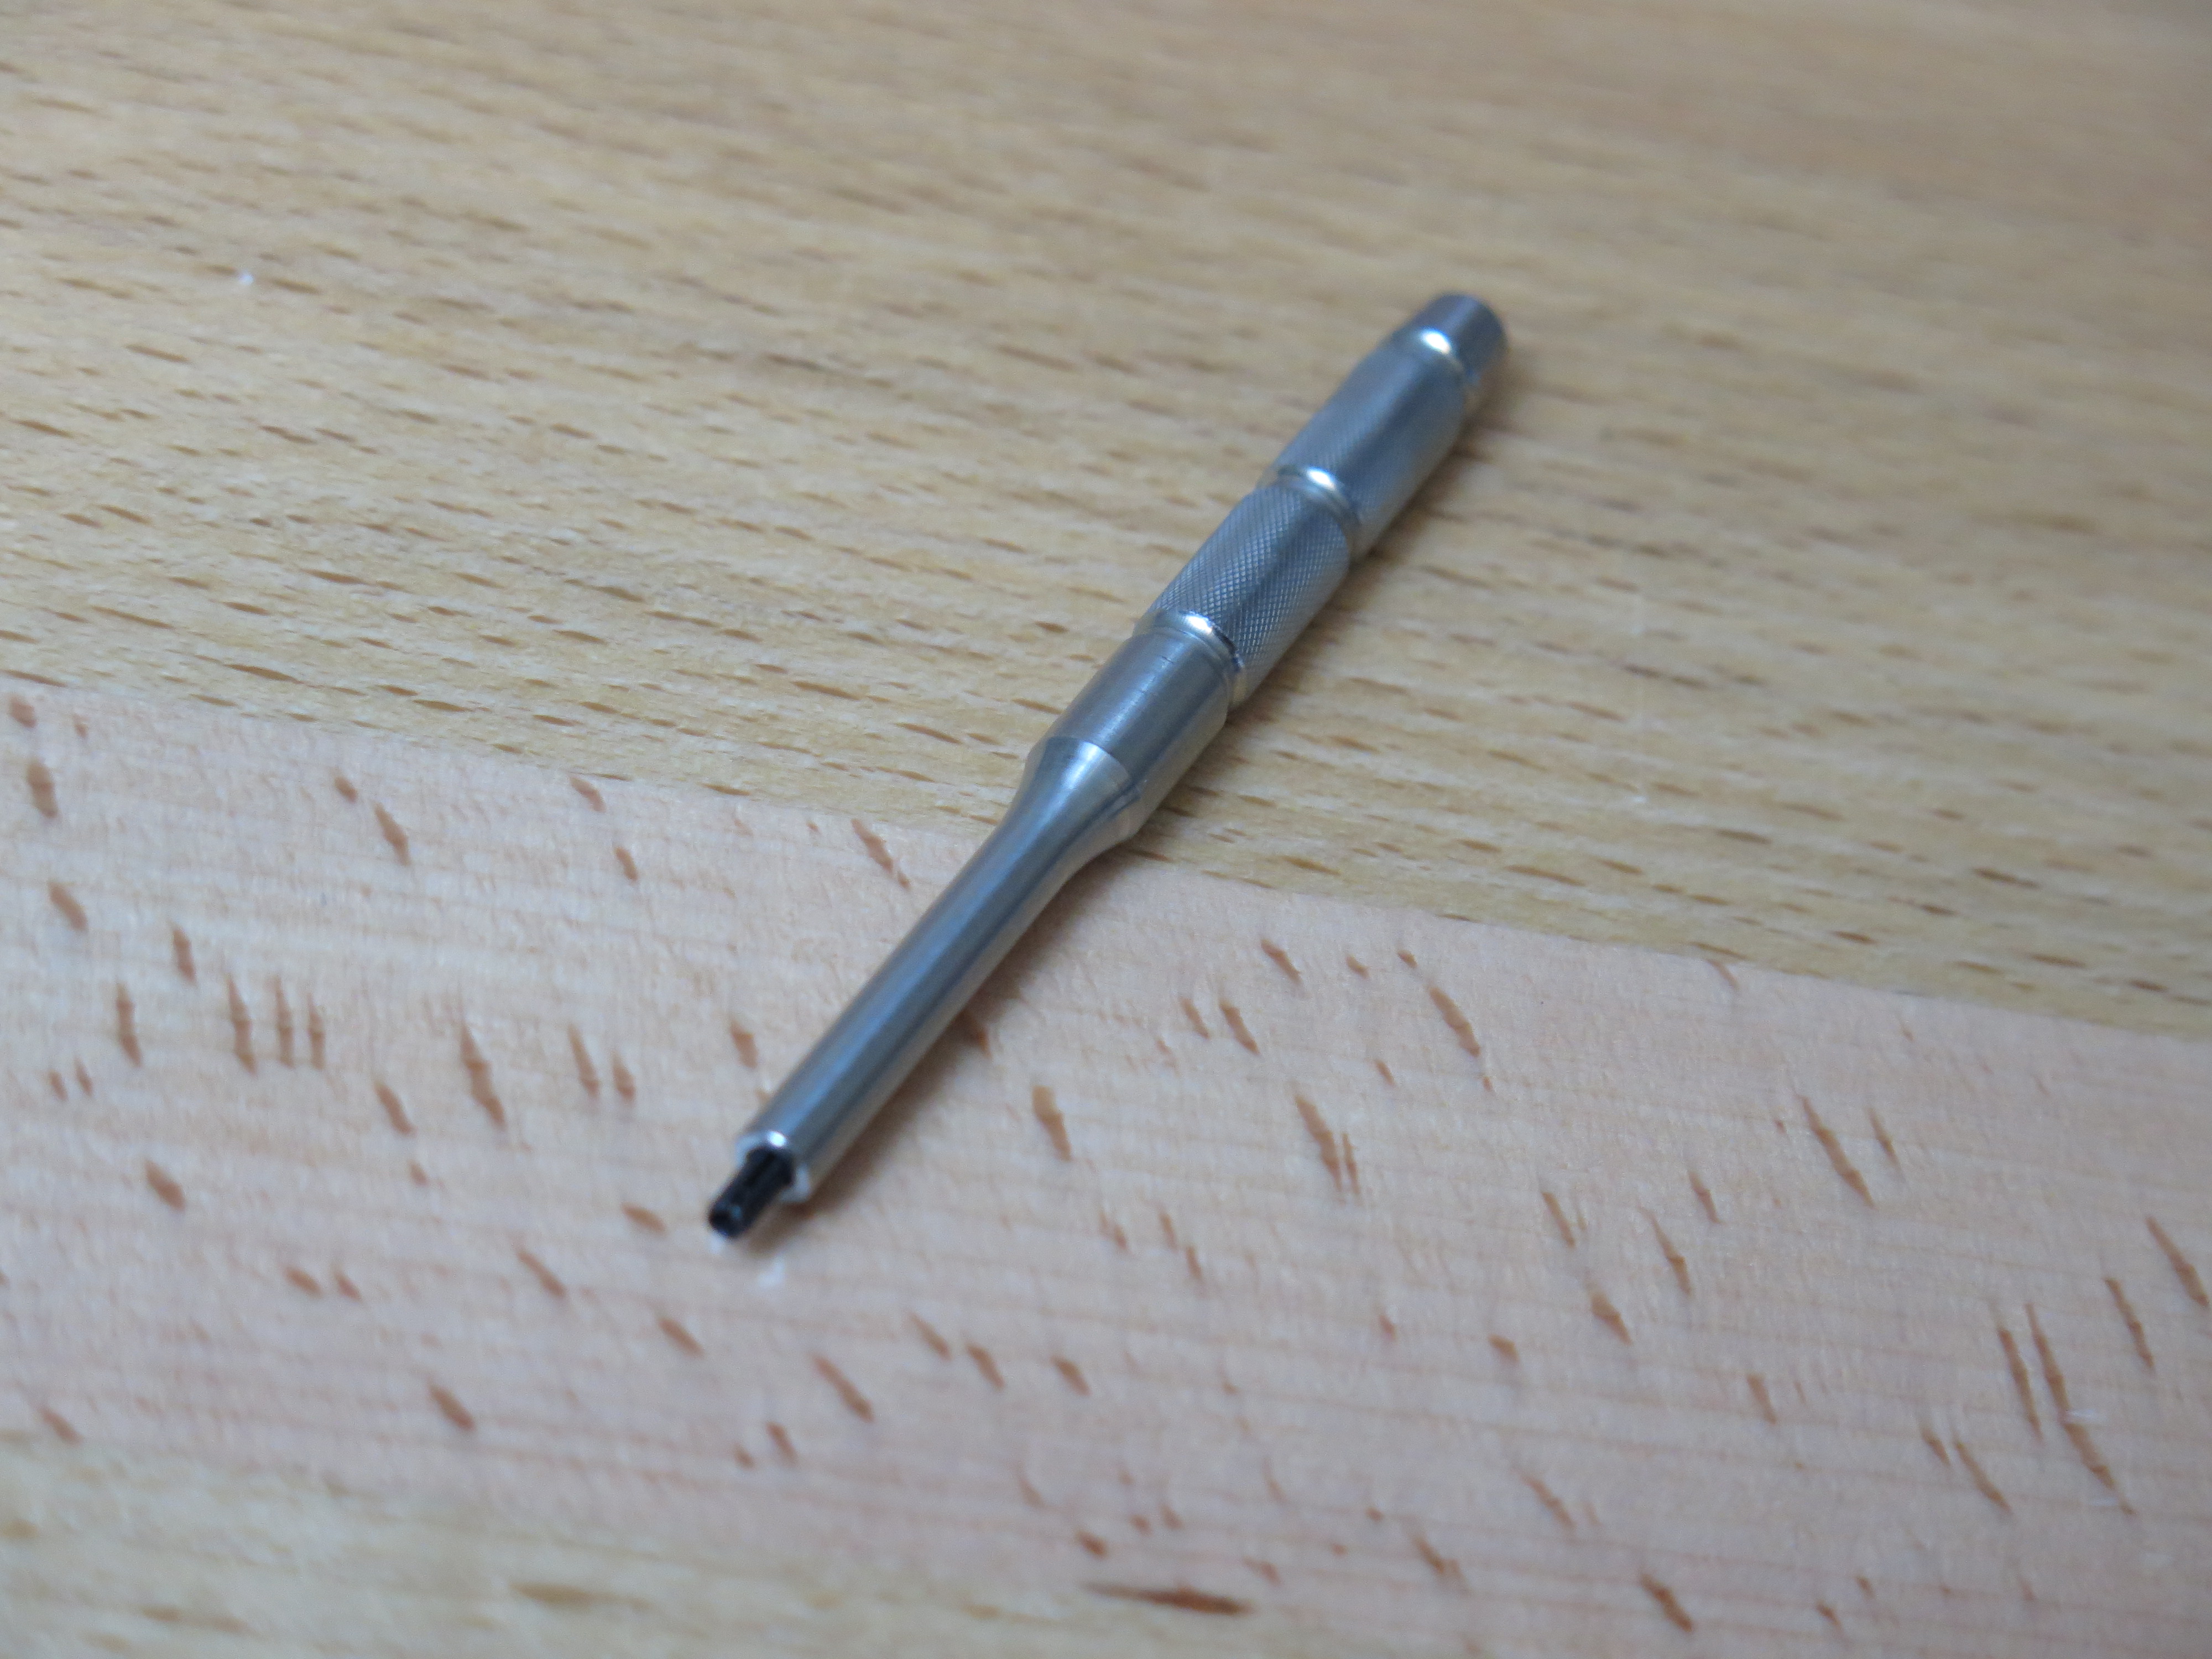
A final note about gas blocks (Who knew such a simple part would be so complicated?): The gas block roll pin is a unique size. Although it can be installed with a standard roll pin punch, life will be much easier if you purchase a gas block roll pin punch. We like the Geissele roll pin punch ($11.49 at MidwayUSA).
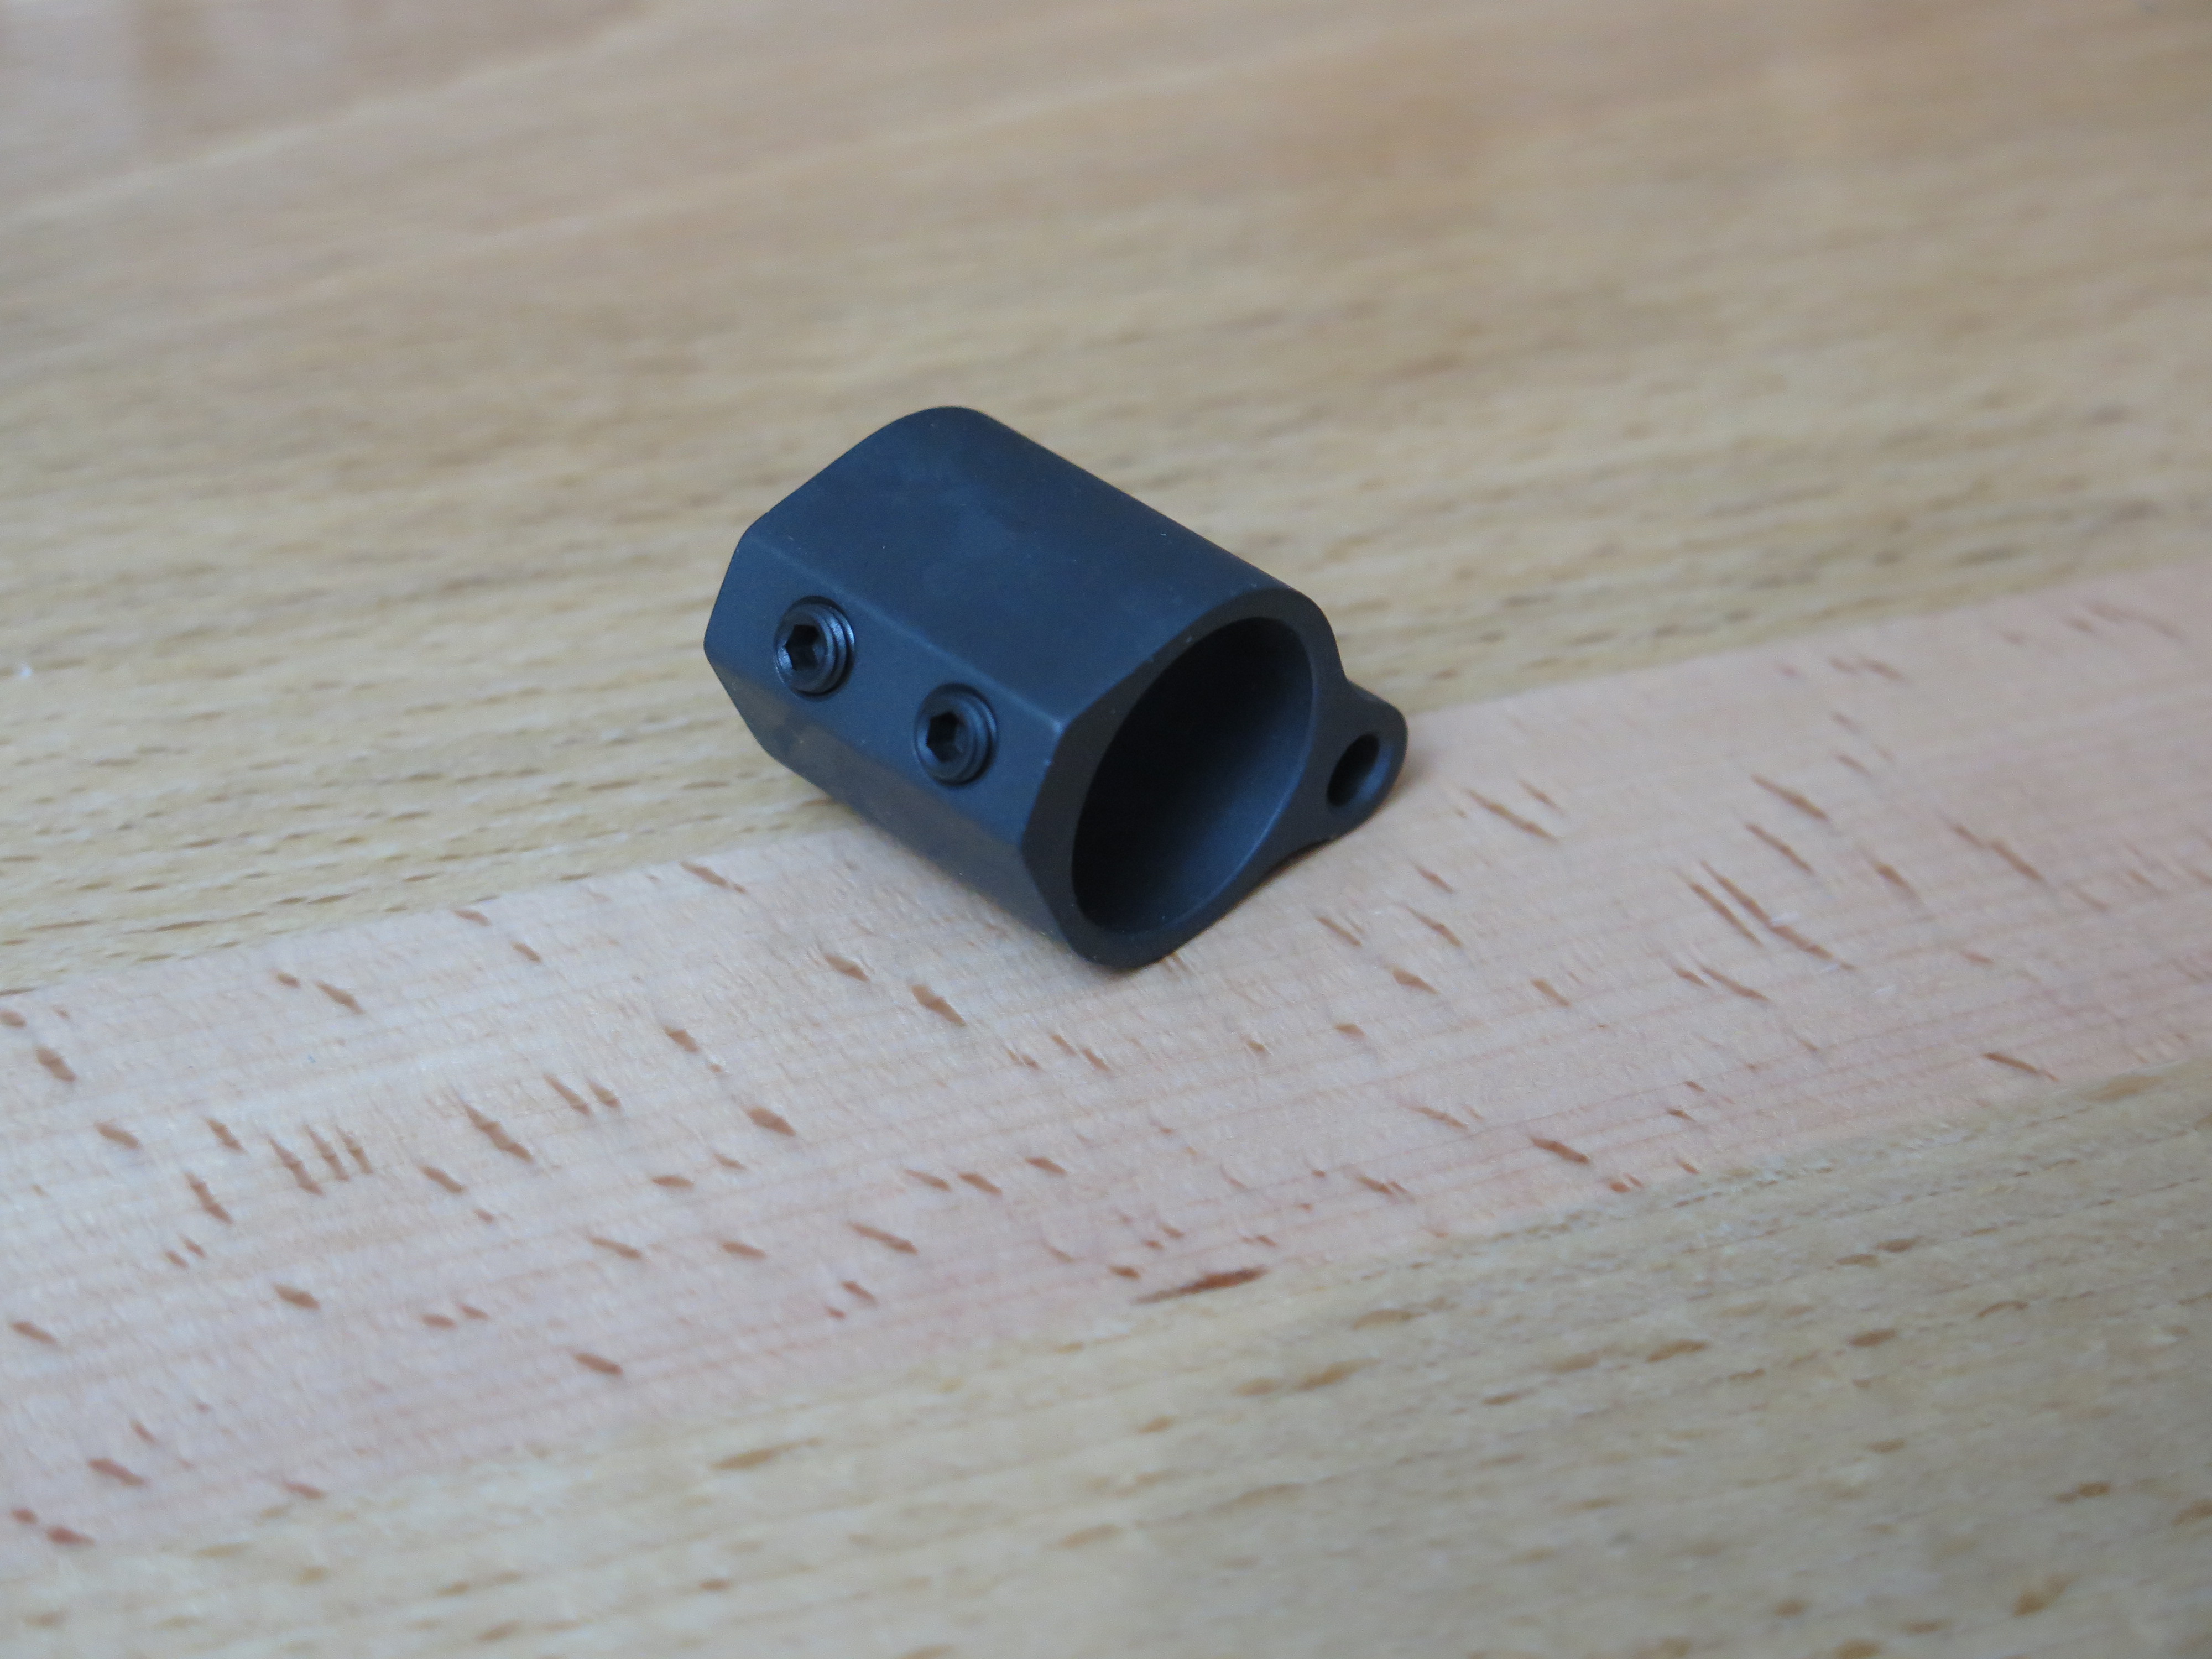
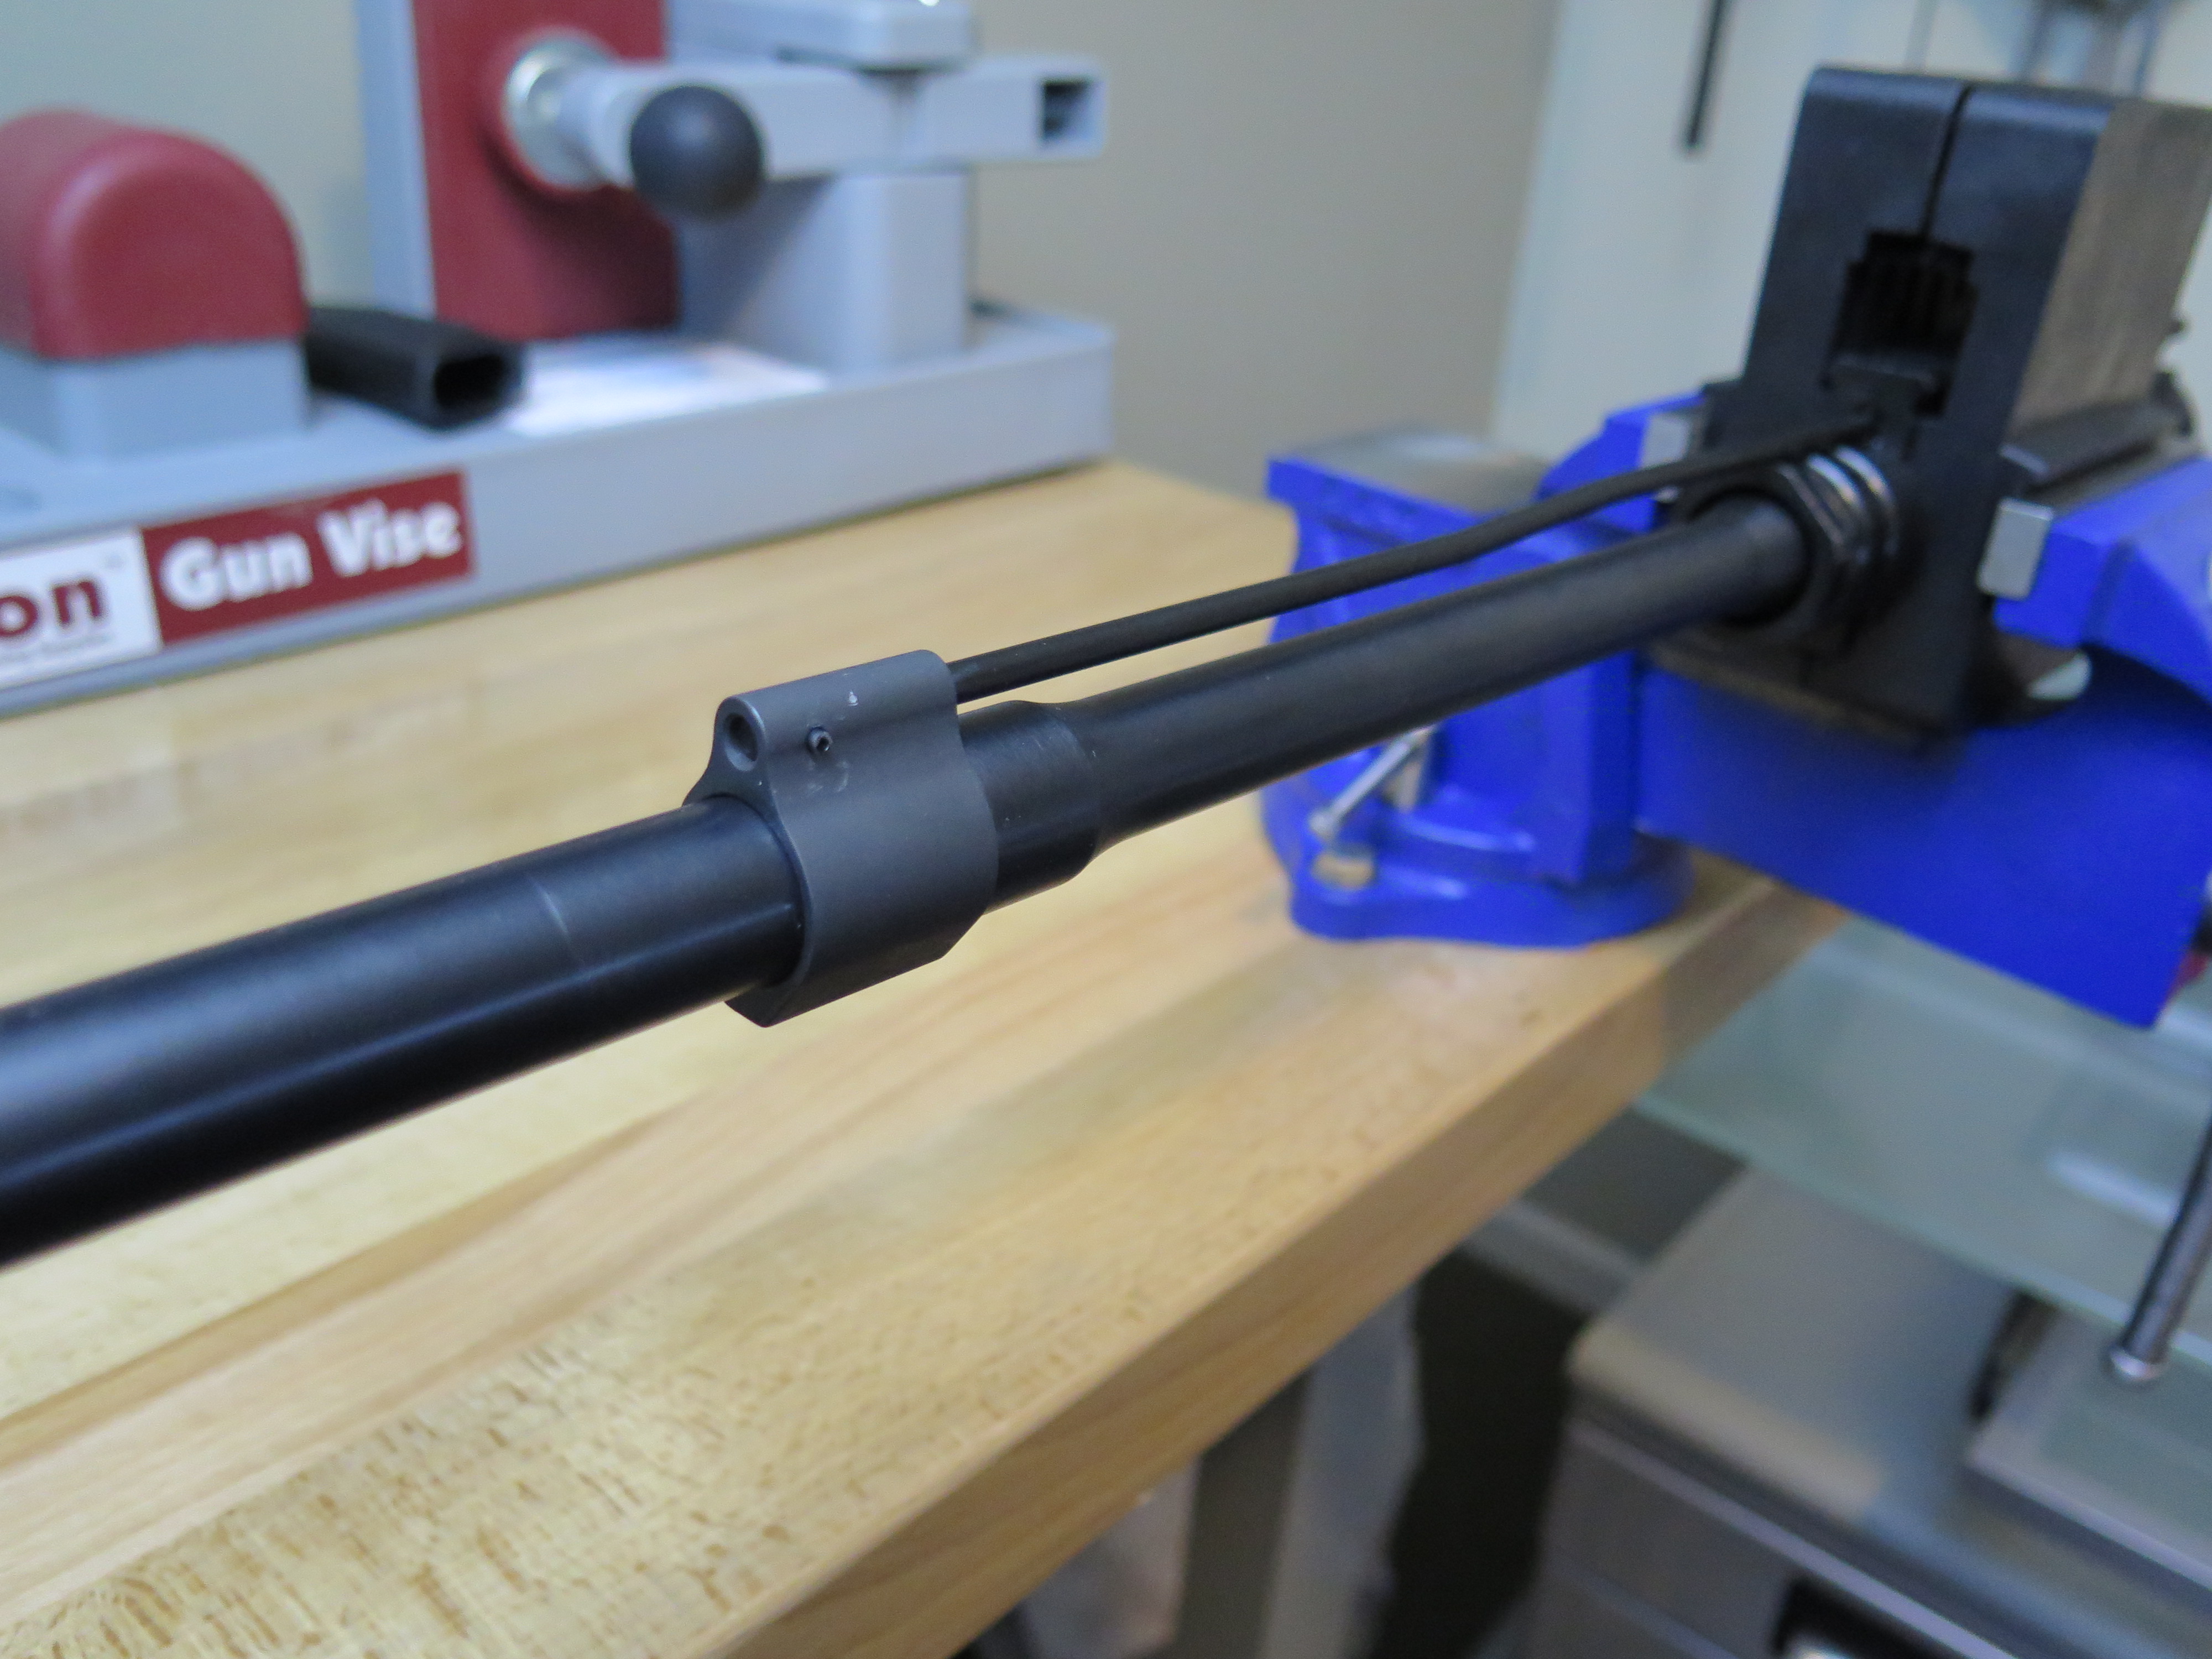
To install the gas block, carefully slide it onto the barrel until it covers the gas port. A very light coat of oil may be necessary. The roll pin hole should be positioned toward the muzzle of the rifle. Most barrels will have two “divots” on the underside of the barrel to index the set screws that hold the block in place. Lightly tighten the set screws until they index into the divots. Once the gas block is in its final position, finish tightening the set screws. Do not over-tighten.
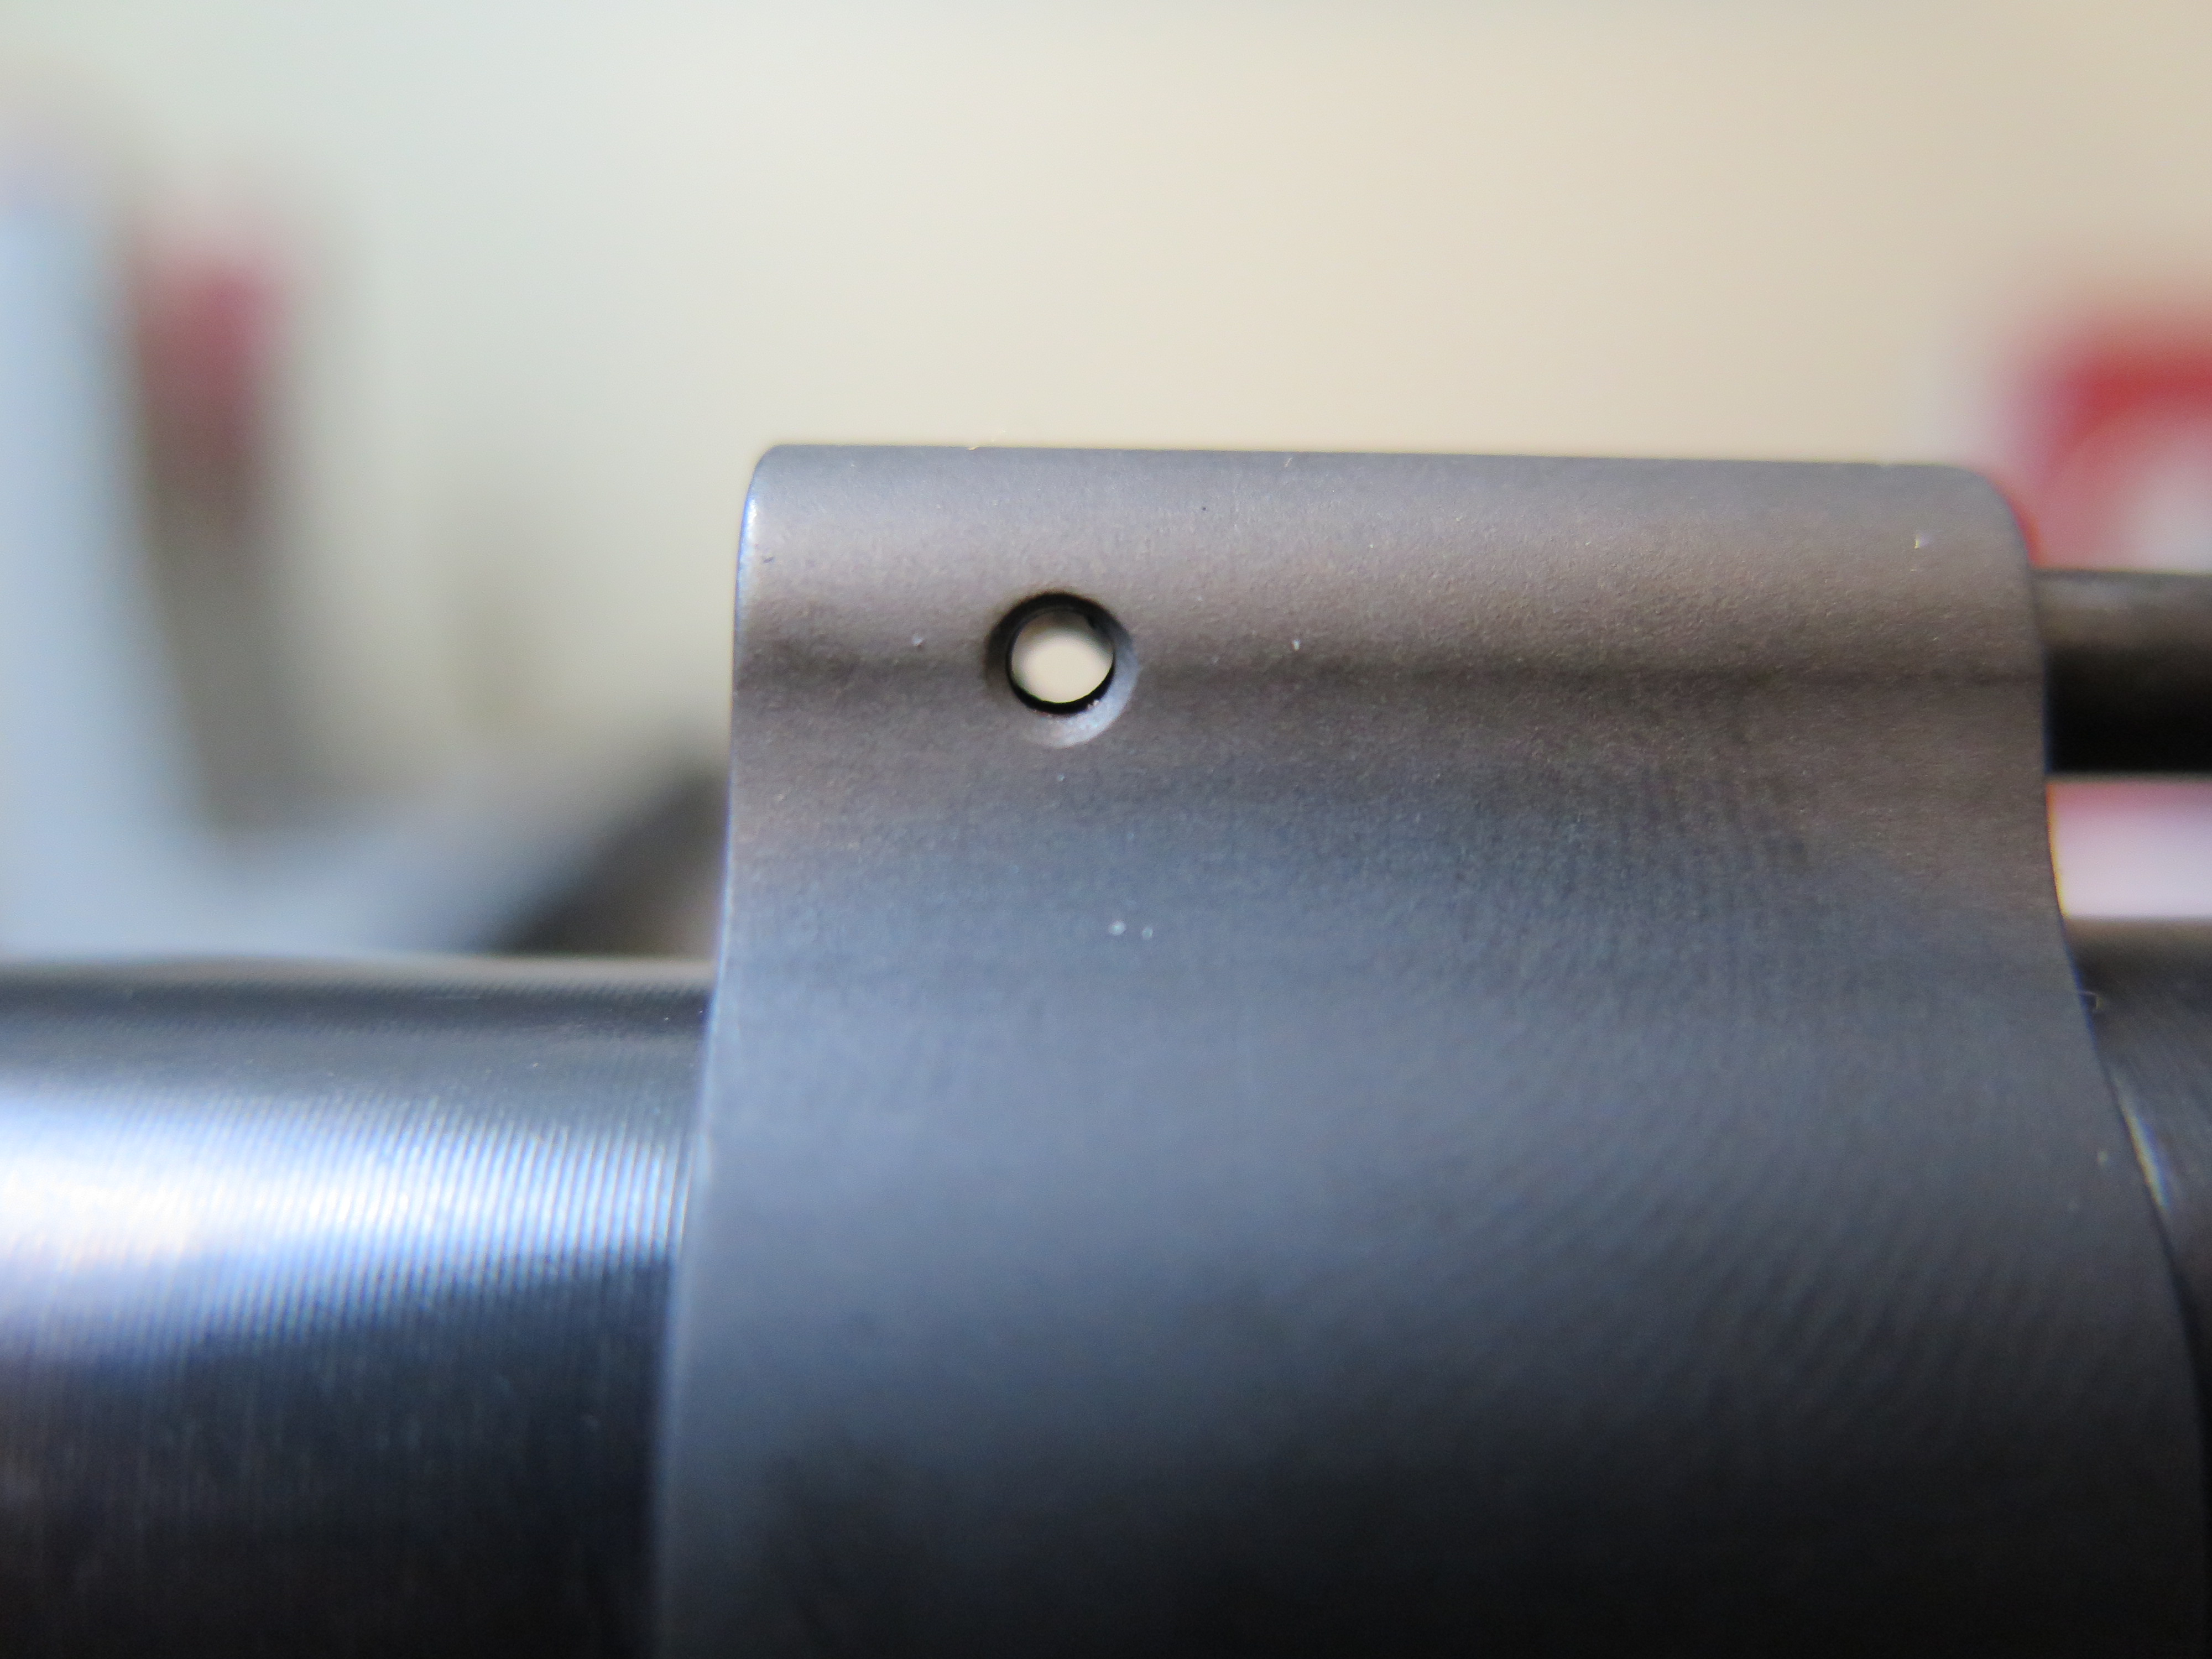
Insert the gas tube into the gas tube hole on the upper receiver. Slide the tube in as far as necessary to allow it to clear the gas block. Insert the opposite end of the tube into the gas block until the opening in the tube lines up with the opening in the gas block as pictured above.
Use a roll pin starter punch to insert the roll pin into the opening in the gas block. User a gas block roll pin punch on the other side of the gas block to hold the tube in place.
Once the roll pin has engaged the gas tube, finish installing it utilizing the gas tube roll pin punch.
Forward assist and dust cover installed? Check. Barrel installed? Check. Gas block and tube installed? Check. We’re getting close!
Time to install the handguard.
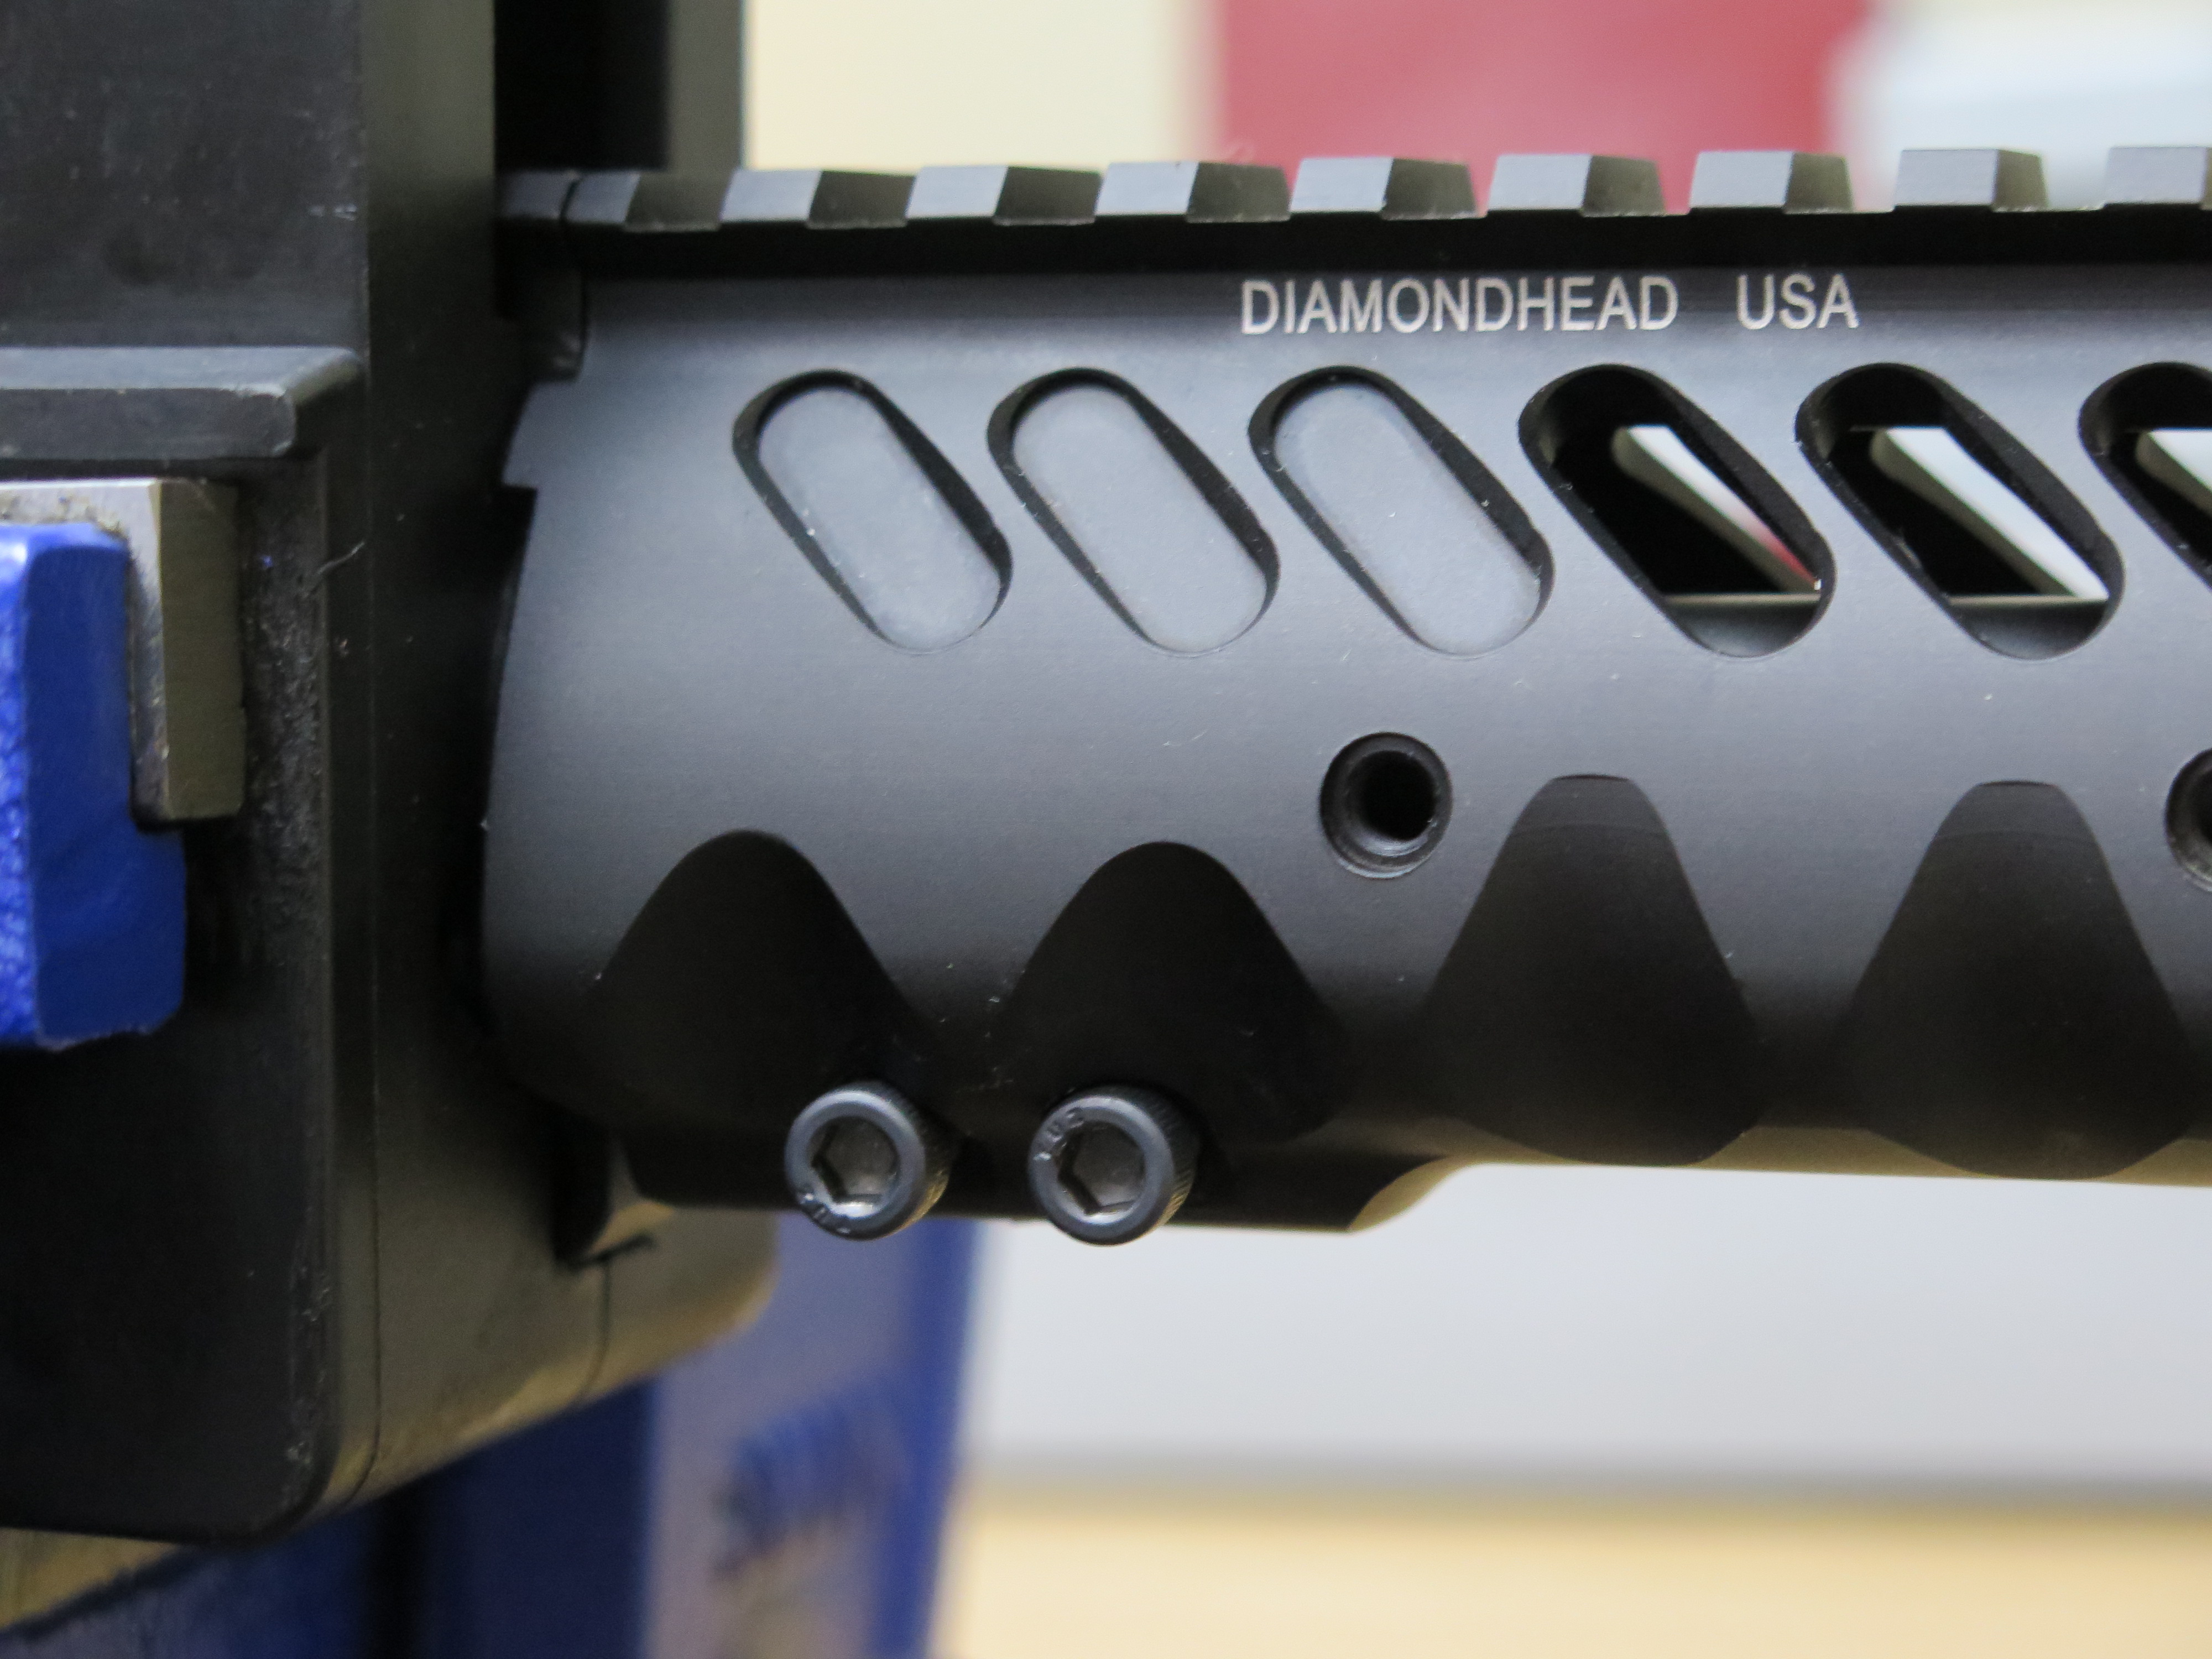
As mentioned earlier, we really like the Diamondhead handguards. They’re easy to install, relatively lightweight, top quality and provide a distinctive look to our rifles.
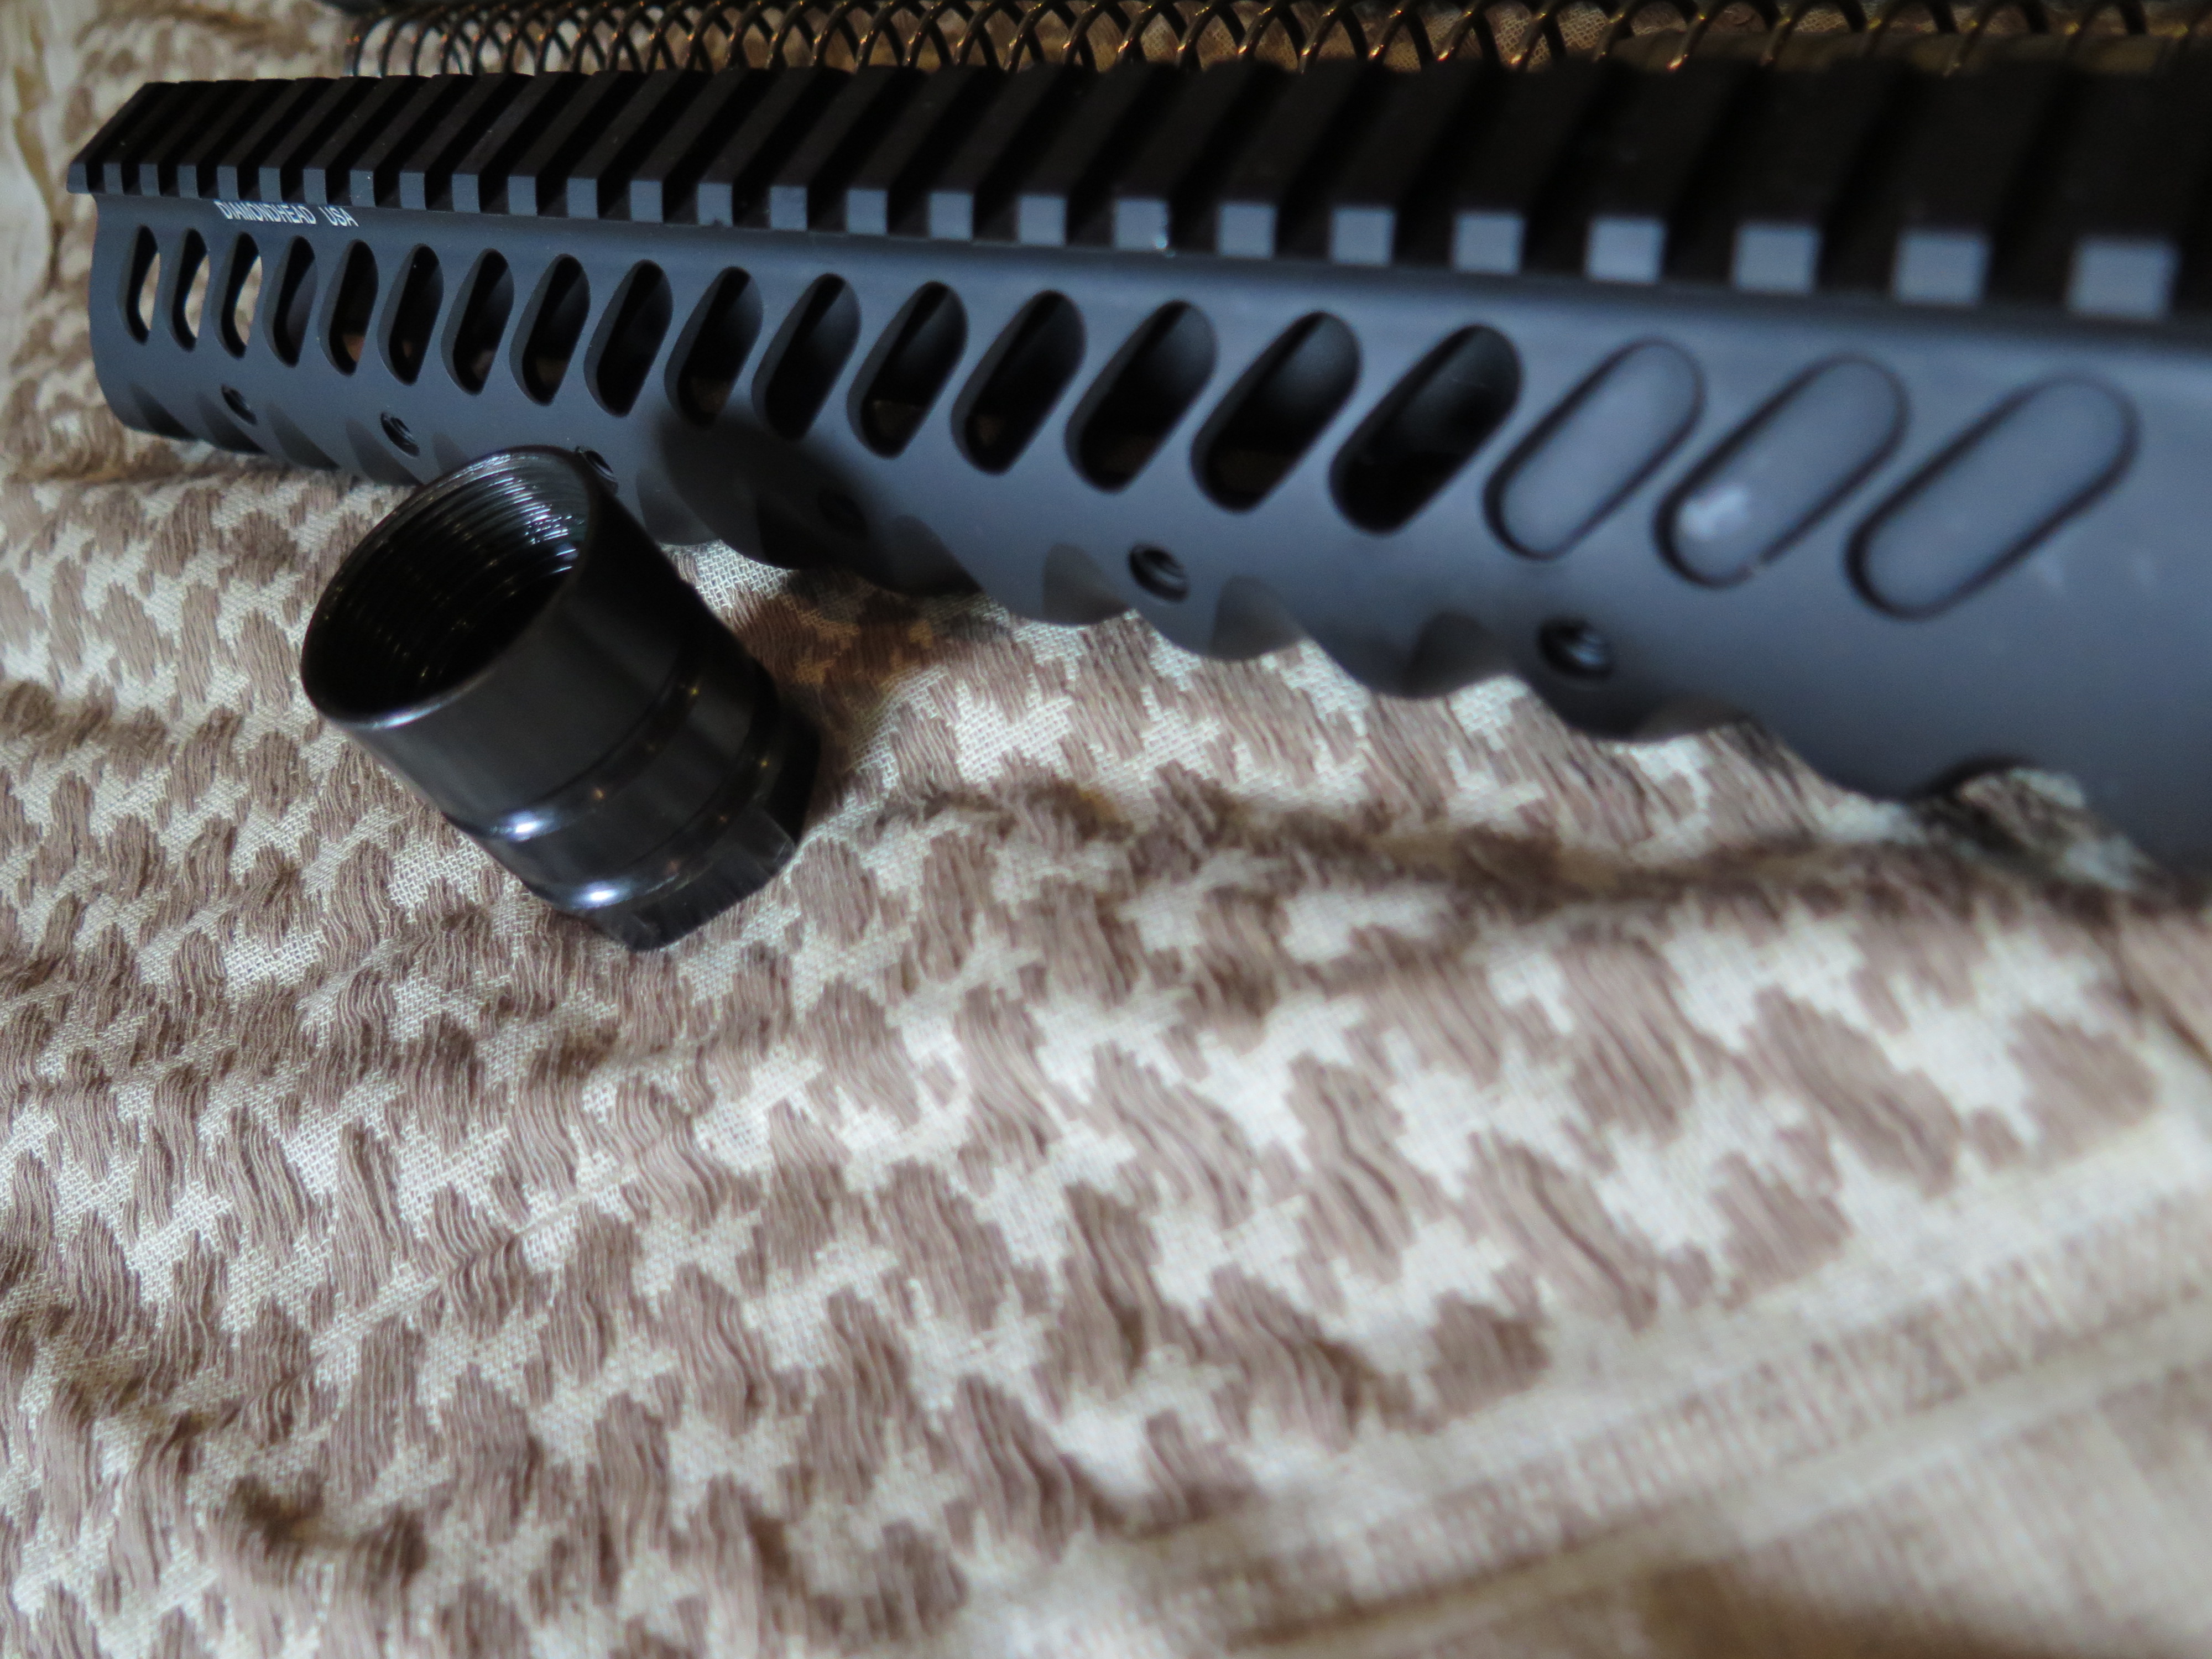
To install a Diamondhead handguard, remove the hex-head screws at the rear of the guard, slide the guard over the barrel and onto the barrel nut, reinstall the two hex-head screws, ensure that the Diamondhead rail is aligned with your upper’s rail and torque down the hex-head screws.
Told you it was easy! No timing of the barrel nut. No muss. No fuss.
One last component to install before we drop in the charging handle and the bolt carrier group – the compensator.
Your basic $500 bargain bin AR typically comes equipped with a flash suppressor/hider at the muzzle end of the barrel. The flash suppressor/hider does just that – tones down the muzzle flash … but not much more.
A compensator is designed to provide some flash suppression but primarily to counteract, or compensate for, the rise of the muzzle as the rifle is fired. This reduction in muzzle rise allows the shooter to get back on target quickly. That’s a good thing if you’re trying to put multiple rounds on a target in a short period of time.
Incidentally, a brake – which may appear similar to a compensator – is intended to reduce the recoil (often called ‘kick’) of a firearm.
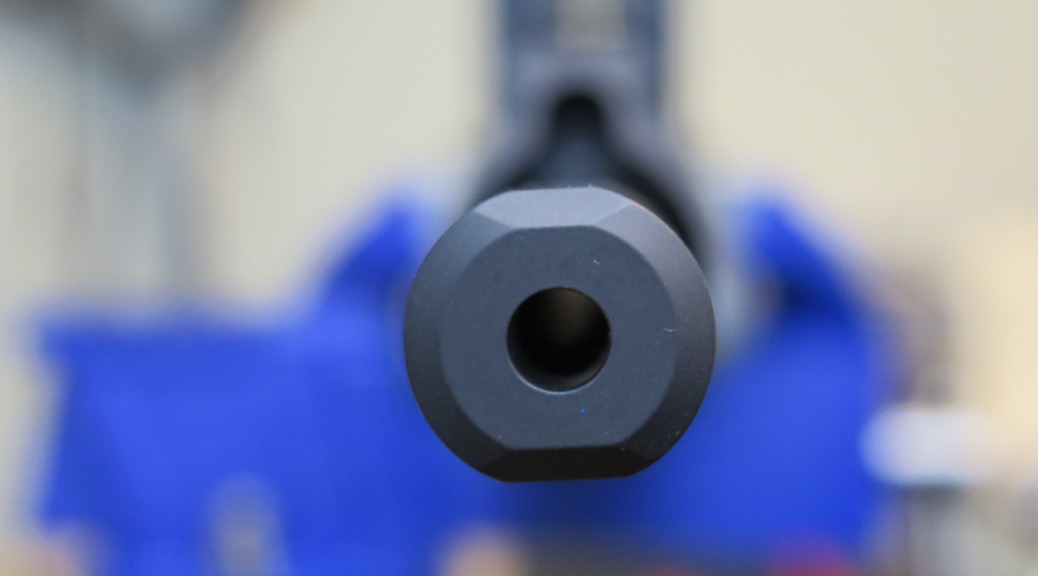
We chose the Precision Armament M4-72 compensator for this build. It’s gotten some good press based on its price and effectiveness. Based on Precision Armament’s product information, it appears that their intention for the M4-72 is to reduce both recoil and muzzle rise.
Because the compensator controls the direction of the muzzle, it is critically important that it be installed absolutely in line with the vertical axis of the barrel. Incorrect installation will cause the muzzle to rise to one side or the other. A compensator must be “timed” to the barrel to ensure this vertical alignment.
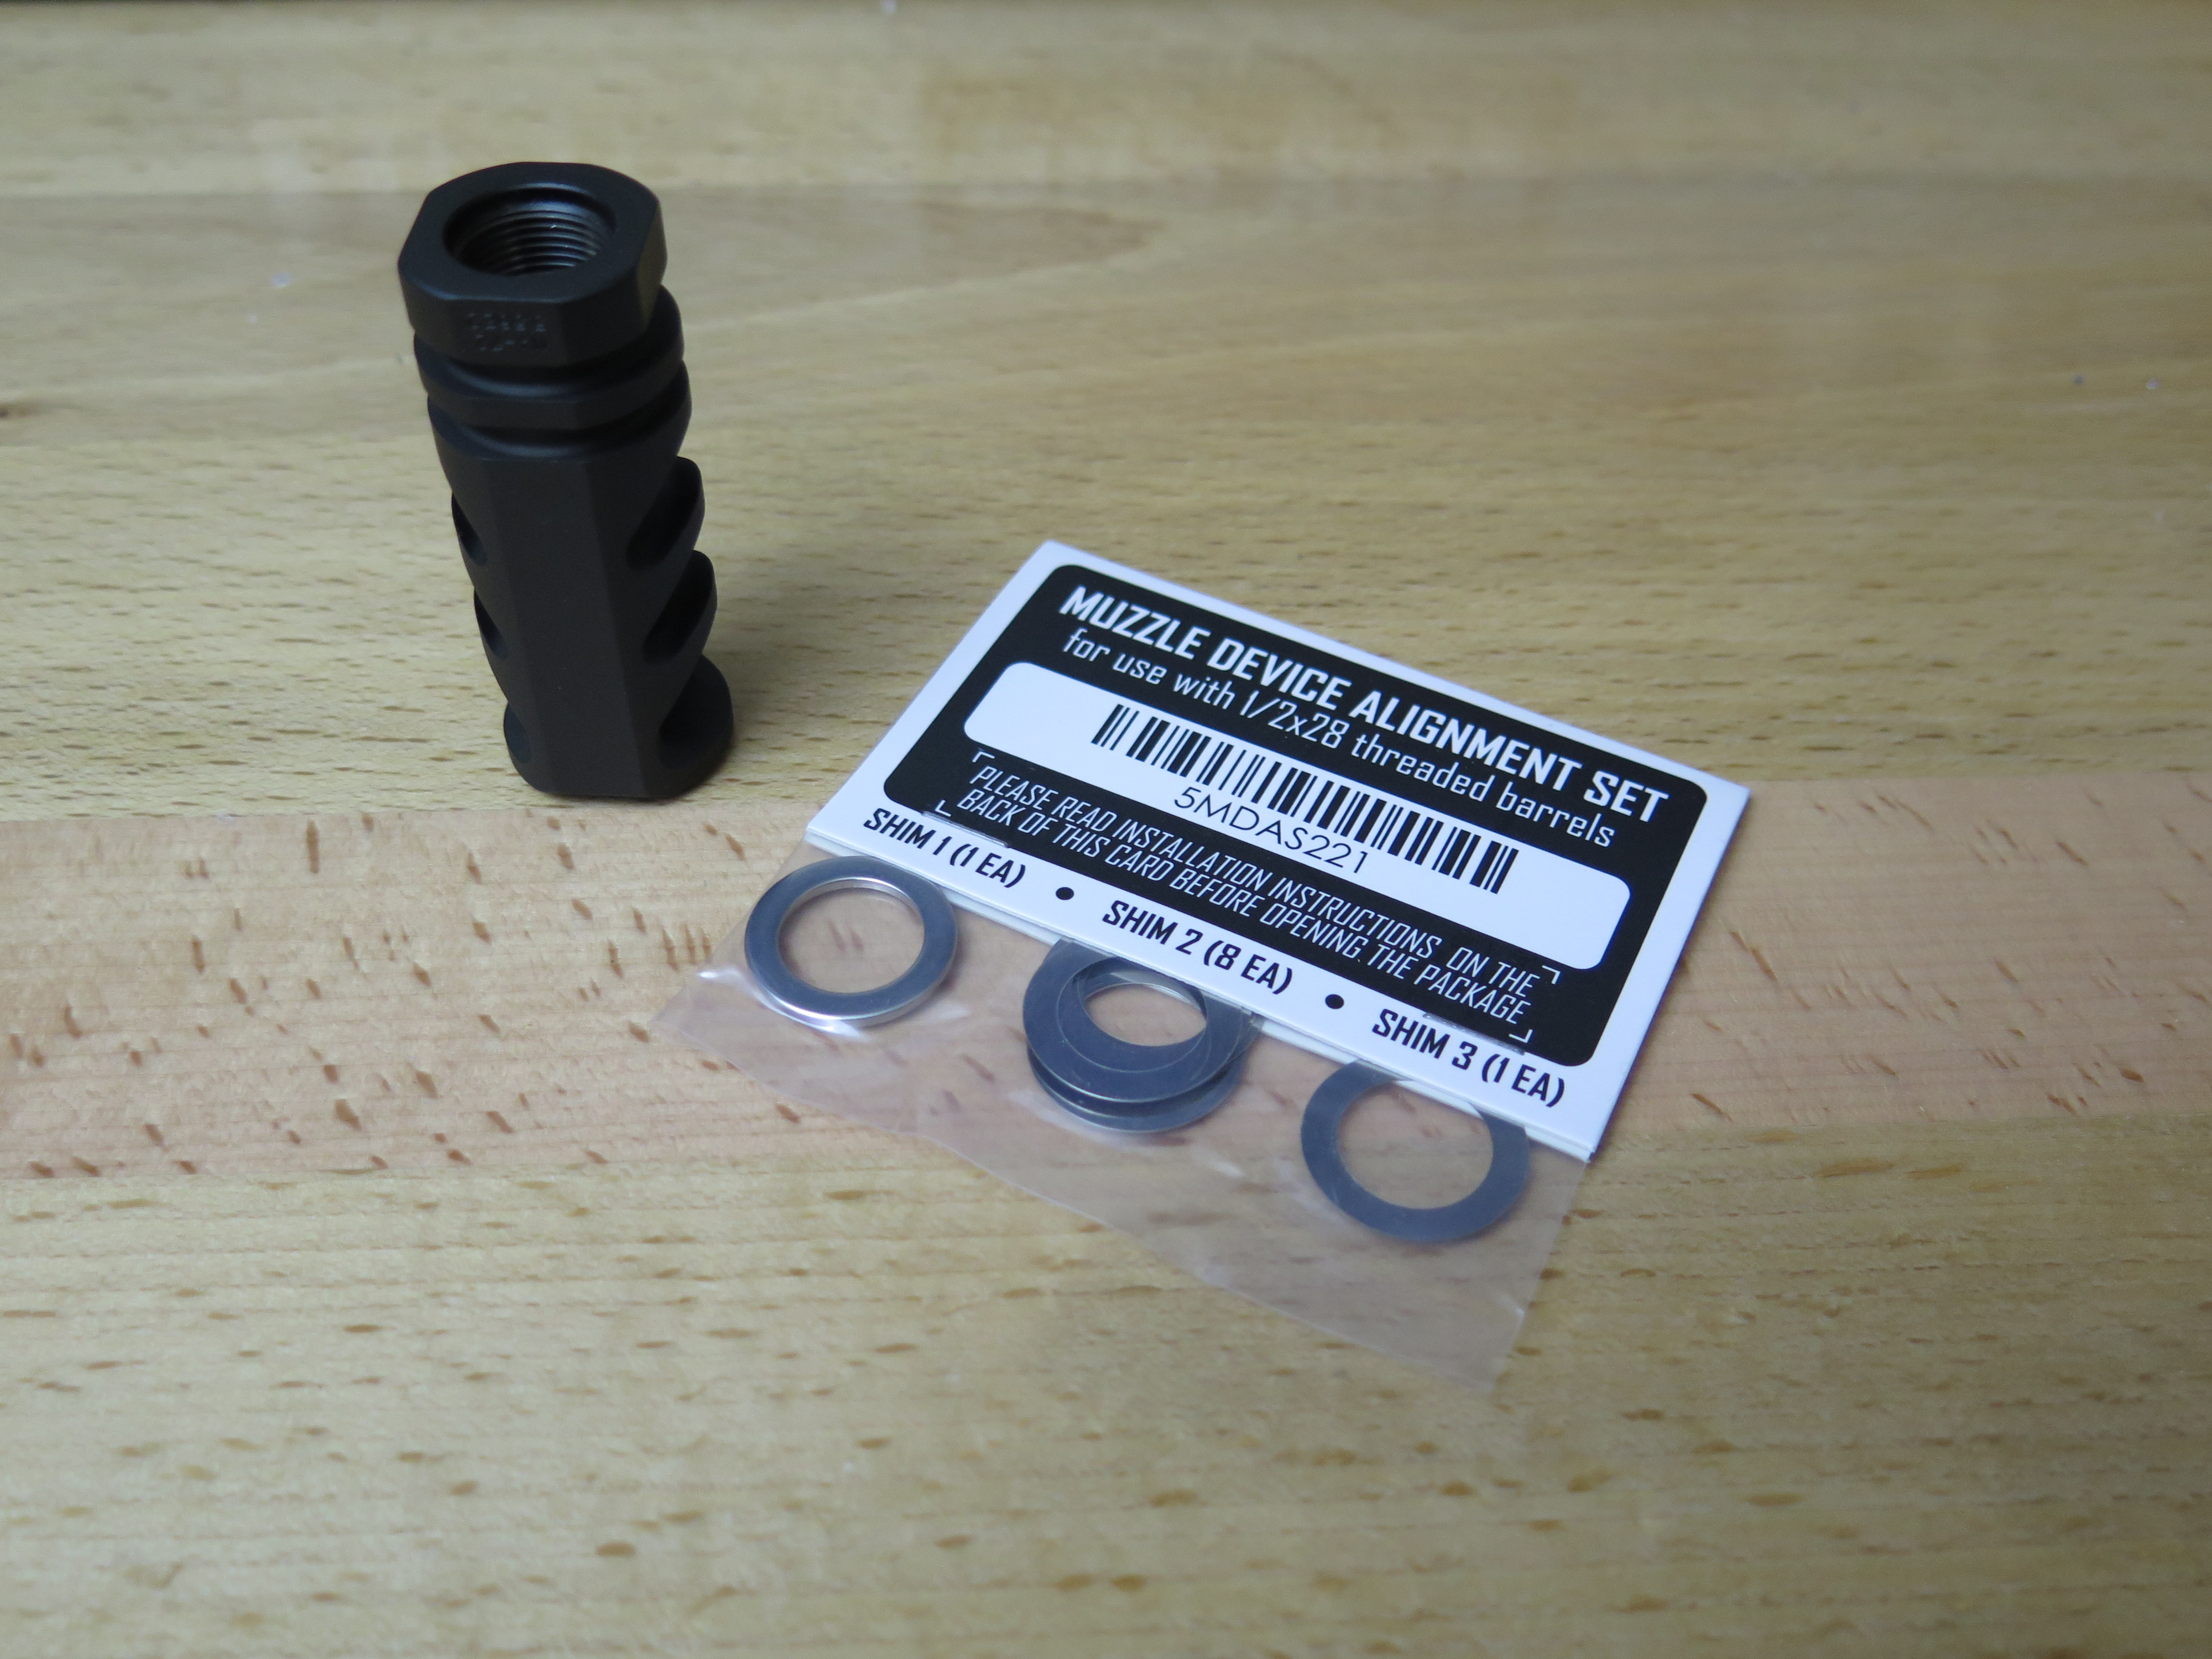
A timing kit is basically a set of washers in various widths. The washers are installed one at a time as the muzzle device is test-fitted for vertical alignment. It’s a bit of a tedious process but careful attention to detail pays off in accuracy and performance.
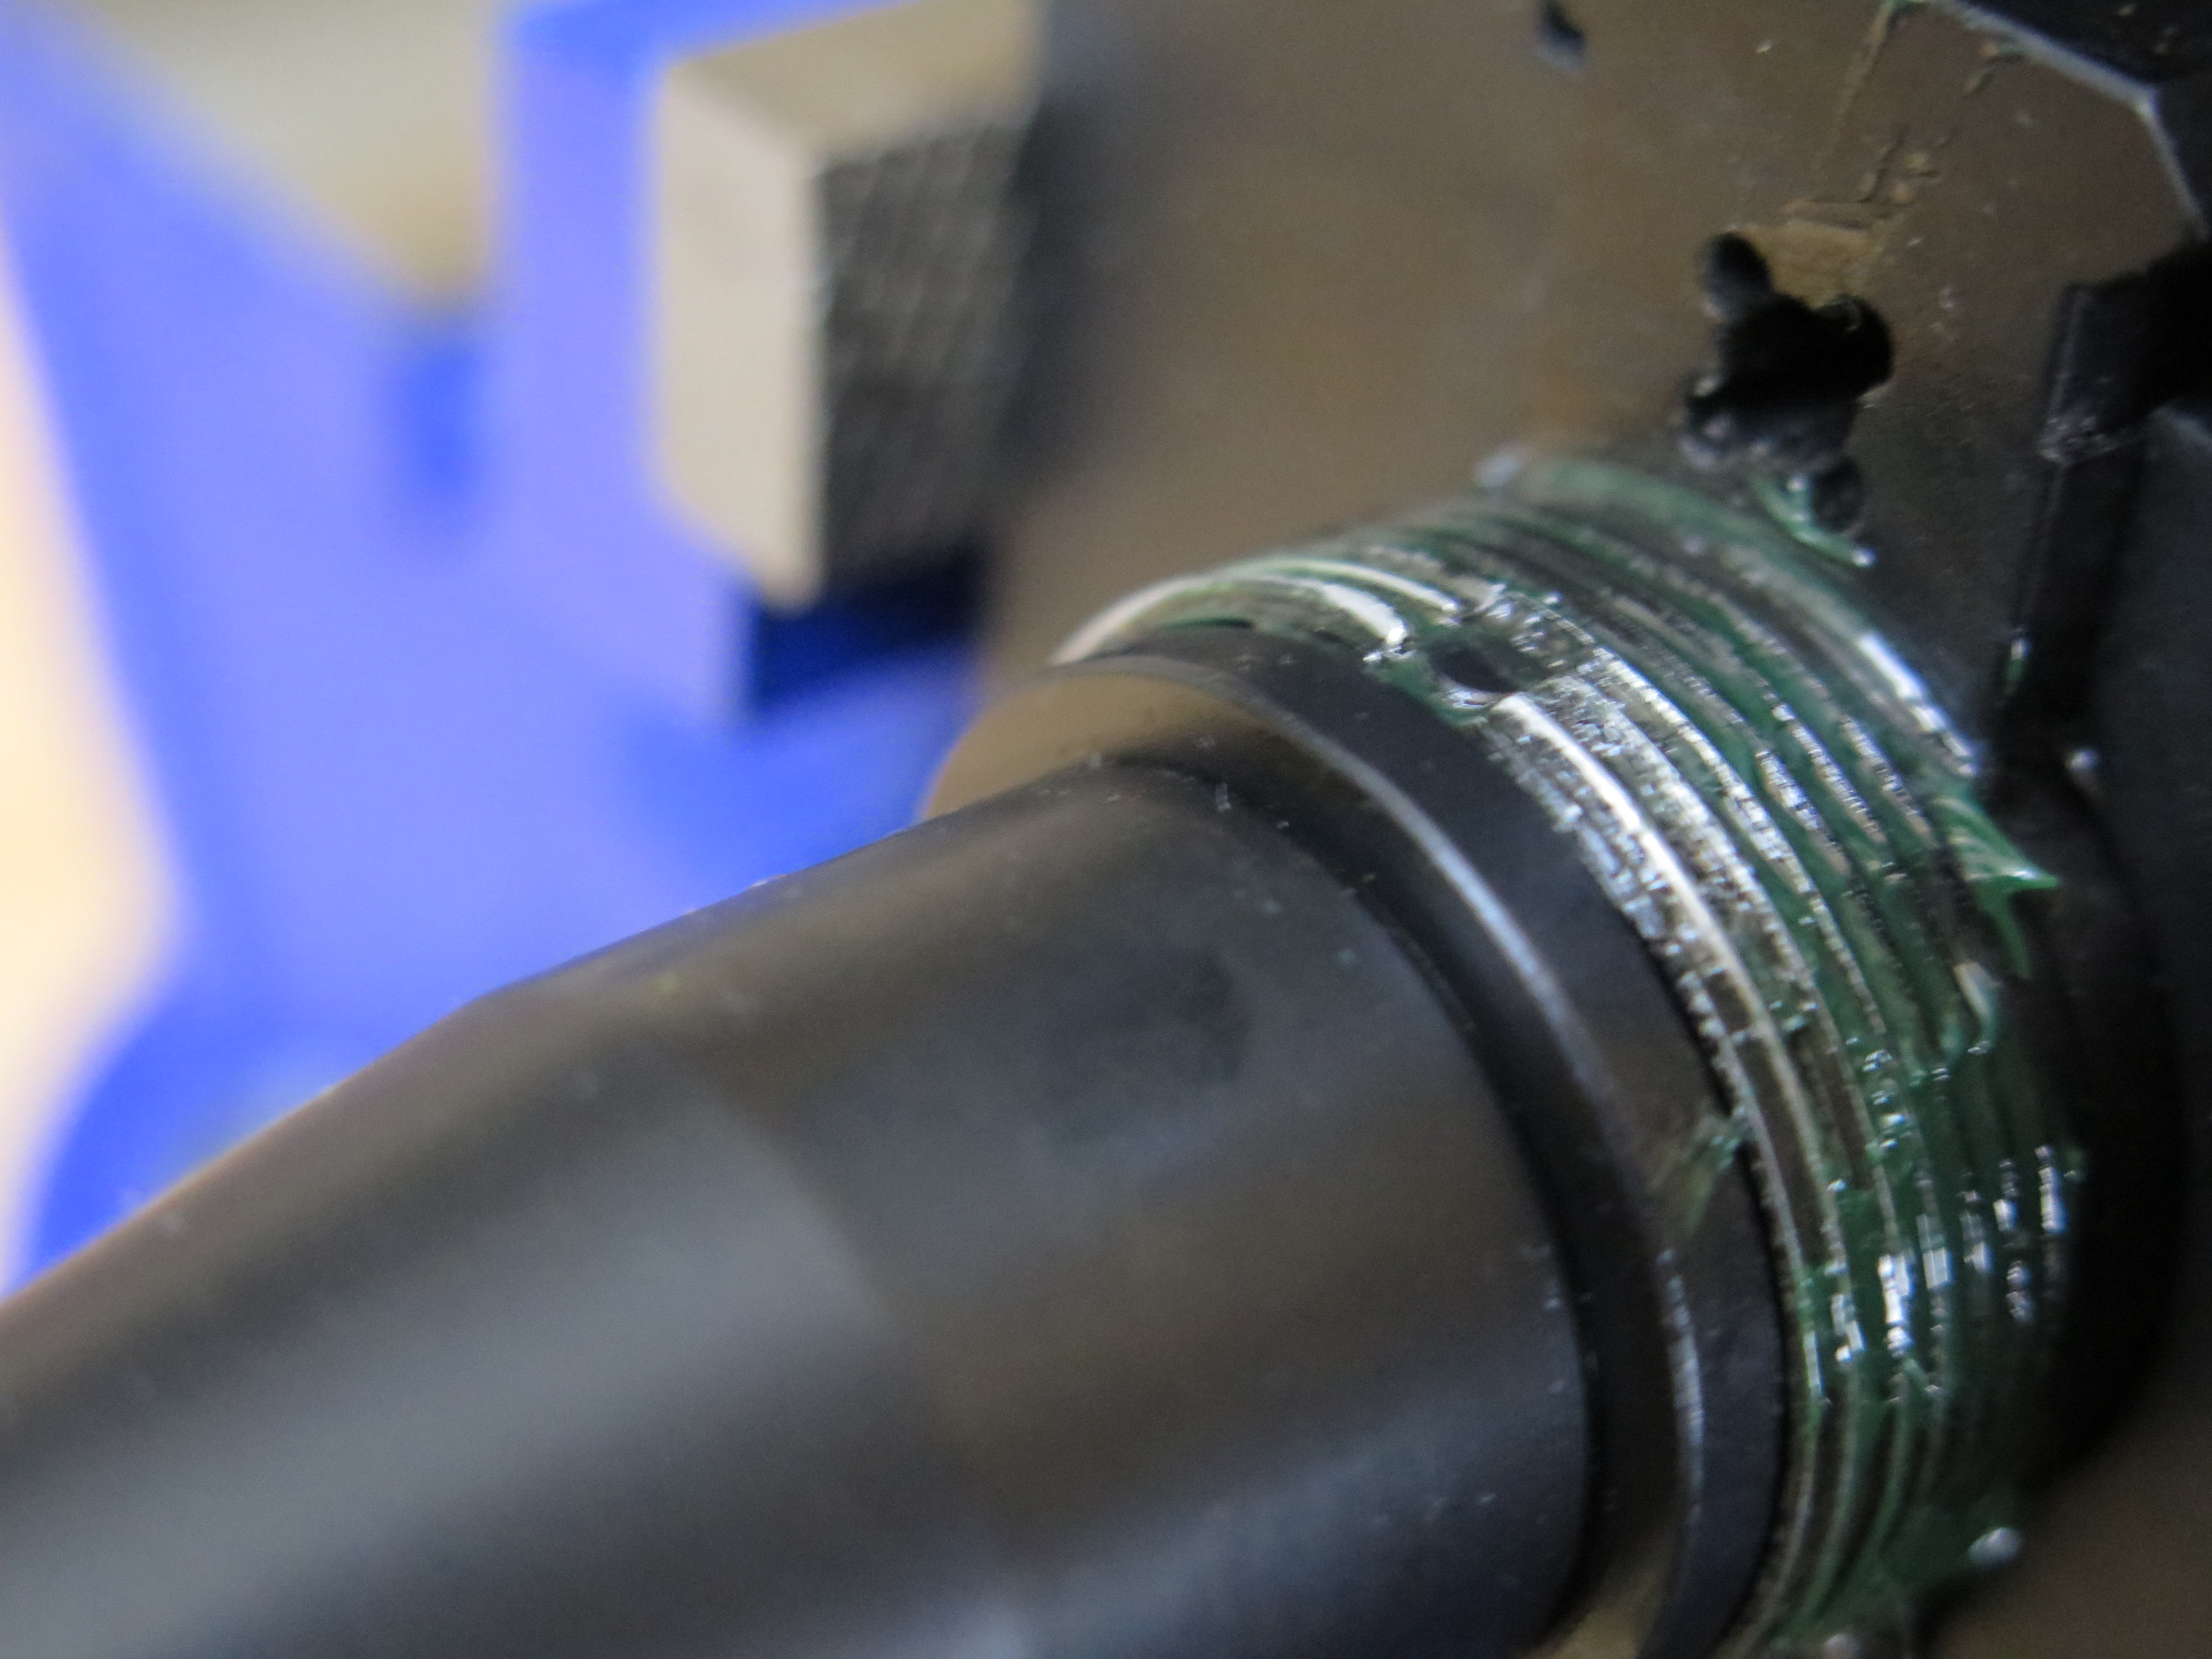
Start by placing the thickest washer on the muzzle of the firearm and then test installing the muzzle device.
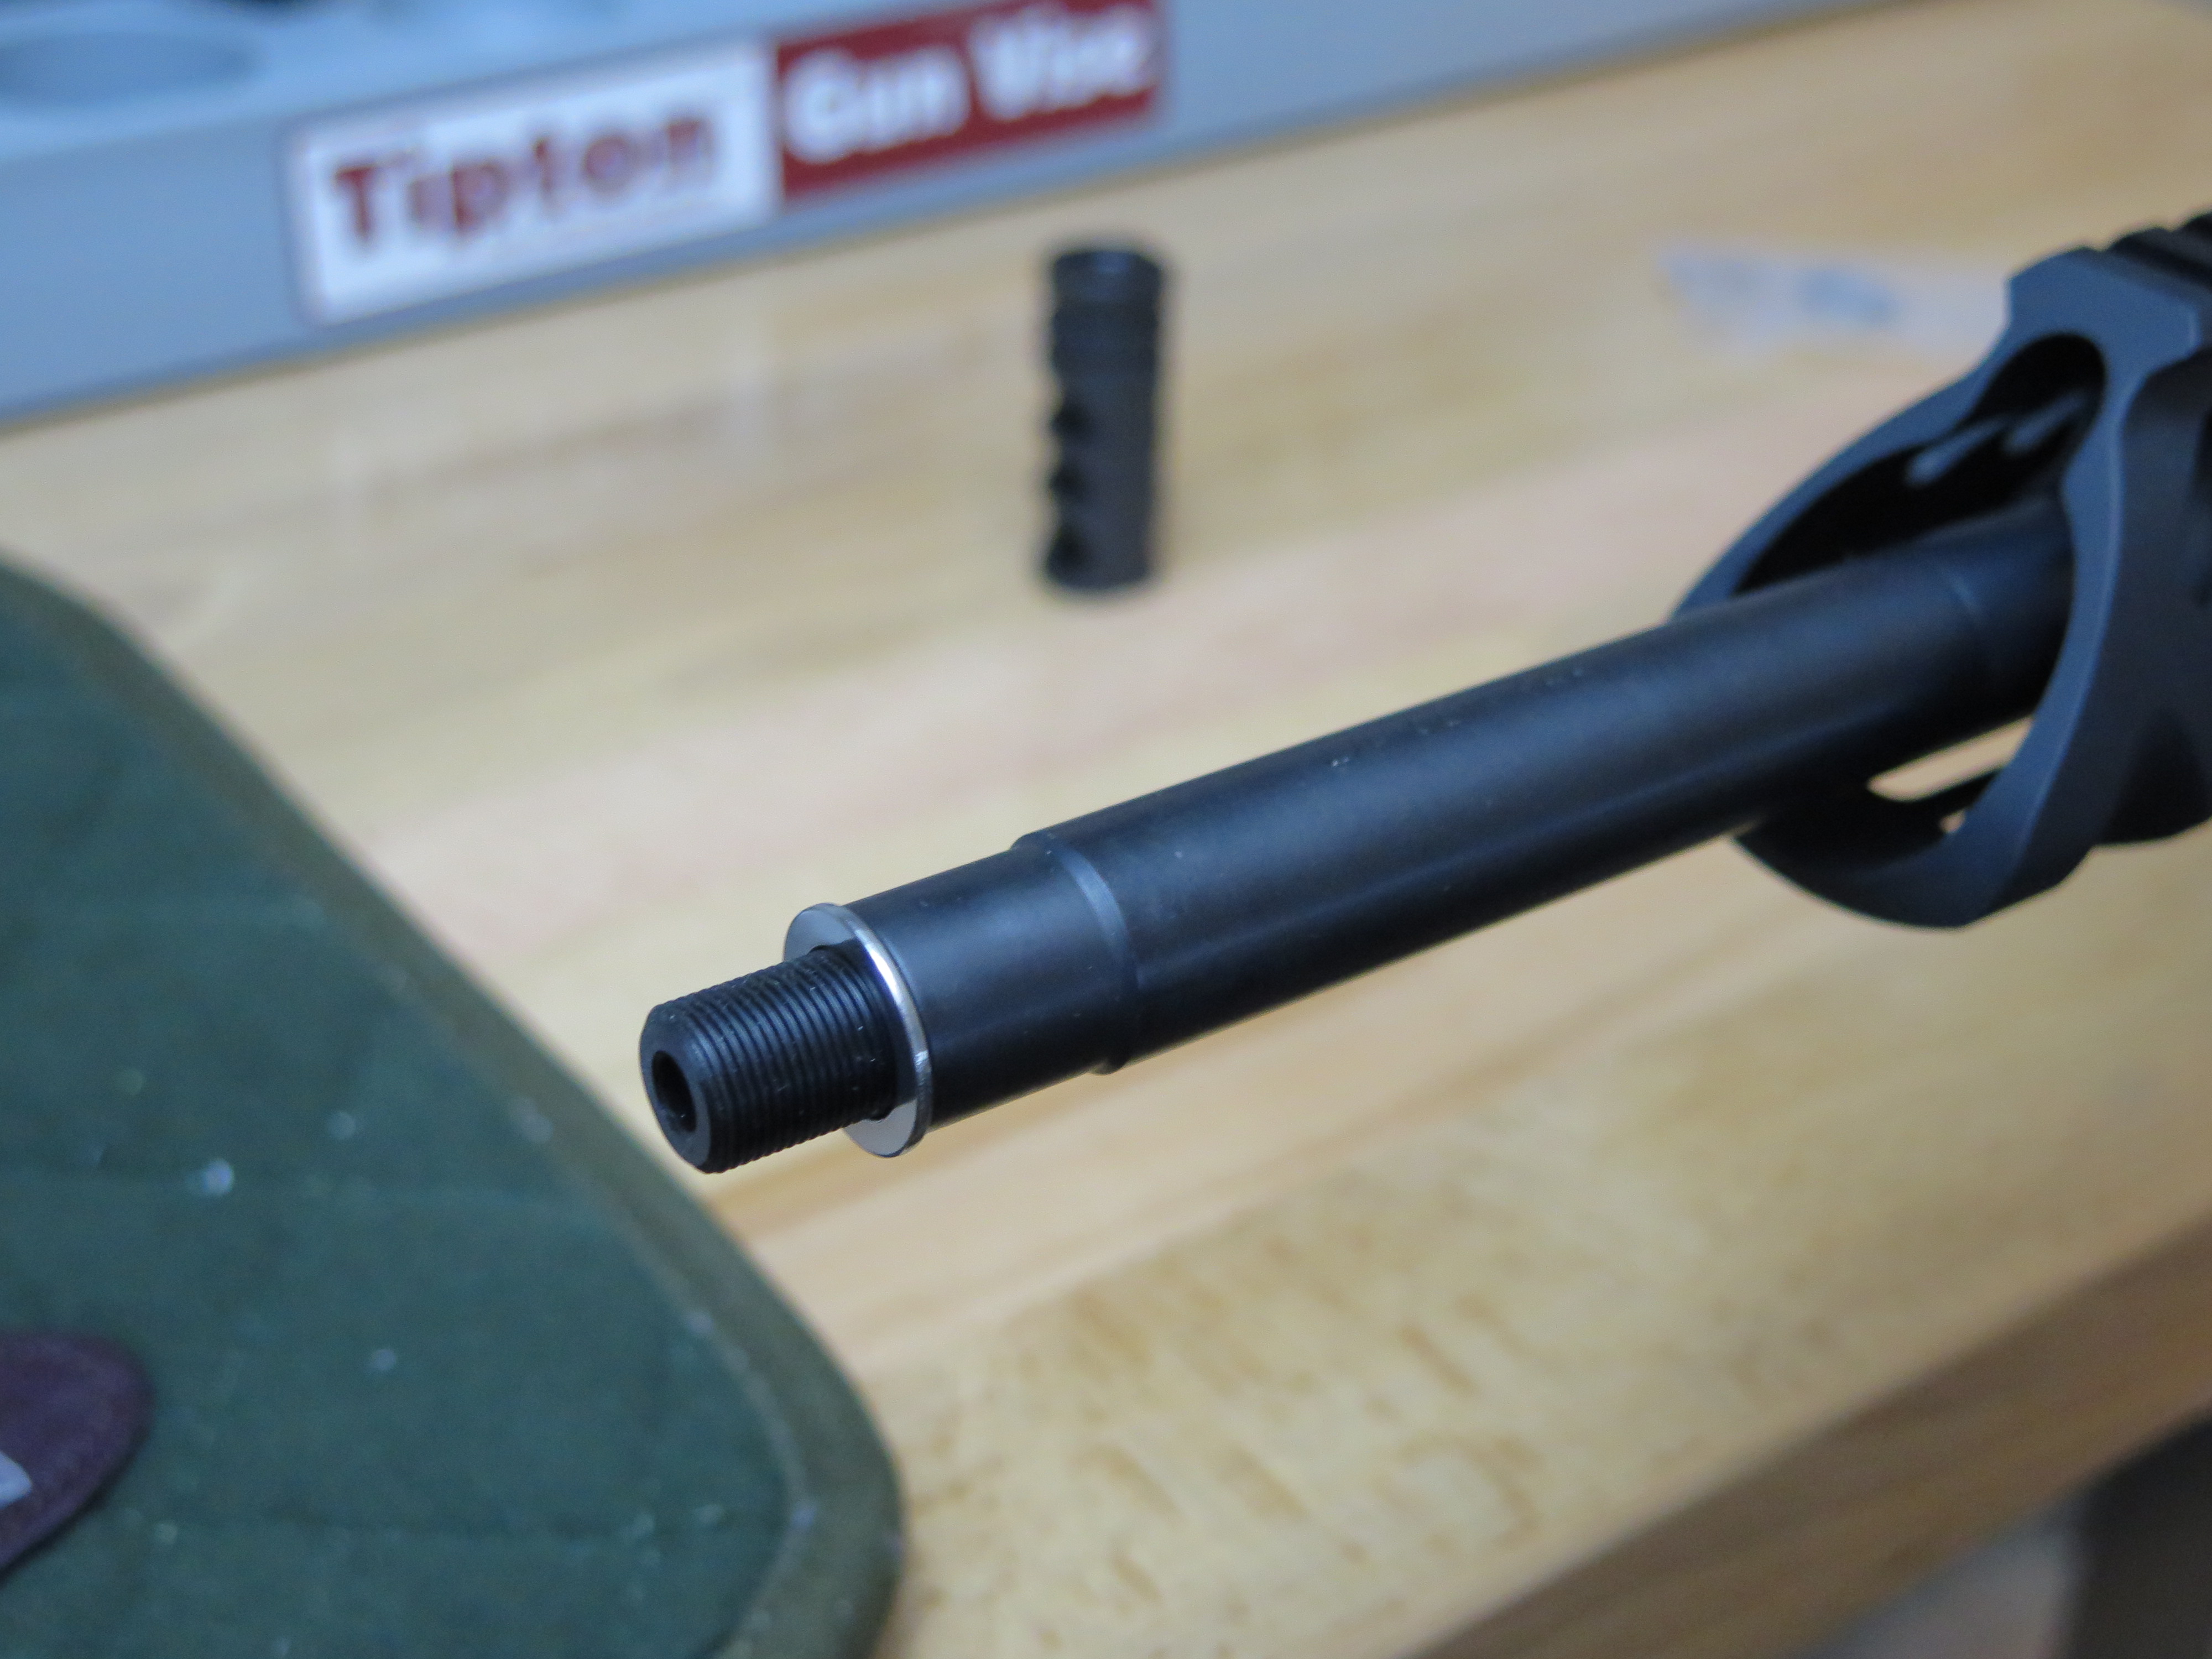
As each washer is installed, thread on the muzzle device. The device should hand-thread to within about 1/4 turn of vertical. This will allow the device to be torqued into place at absolutely vertical.
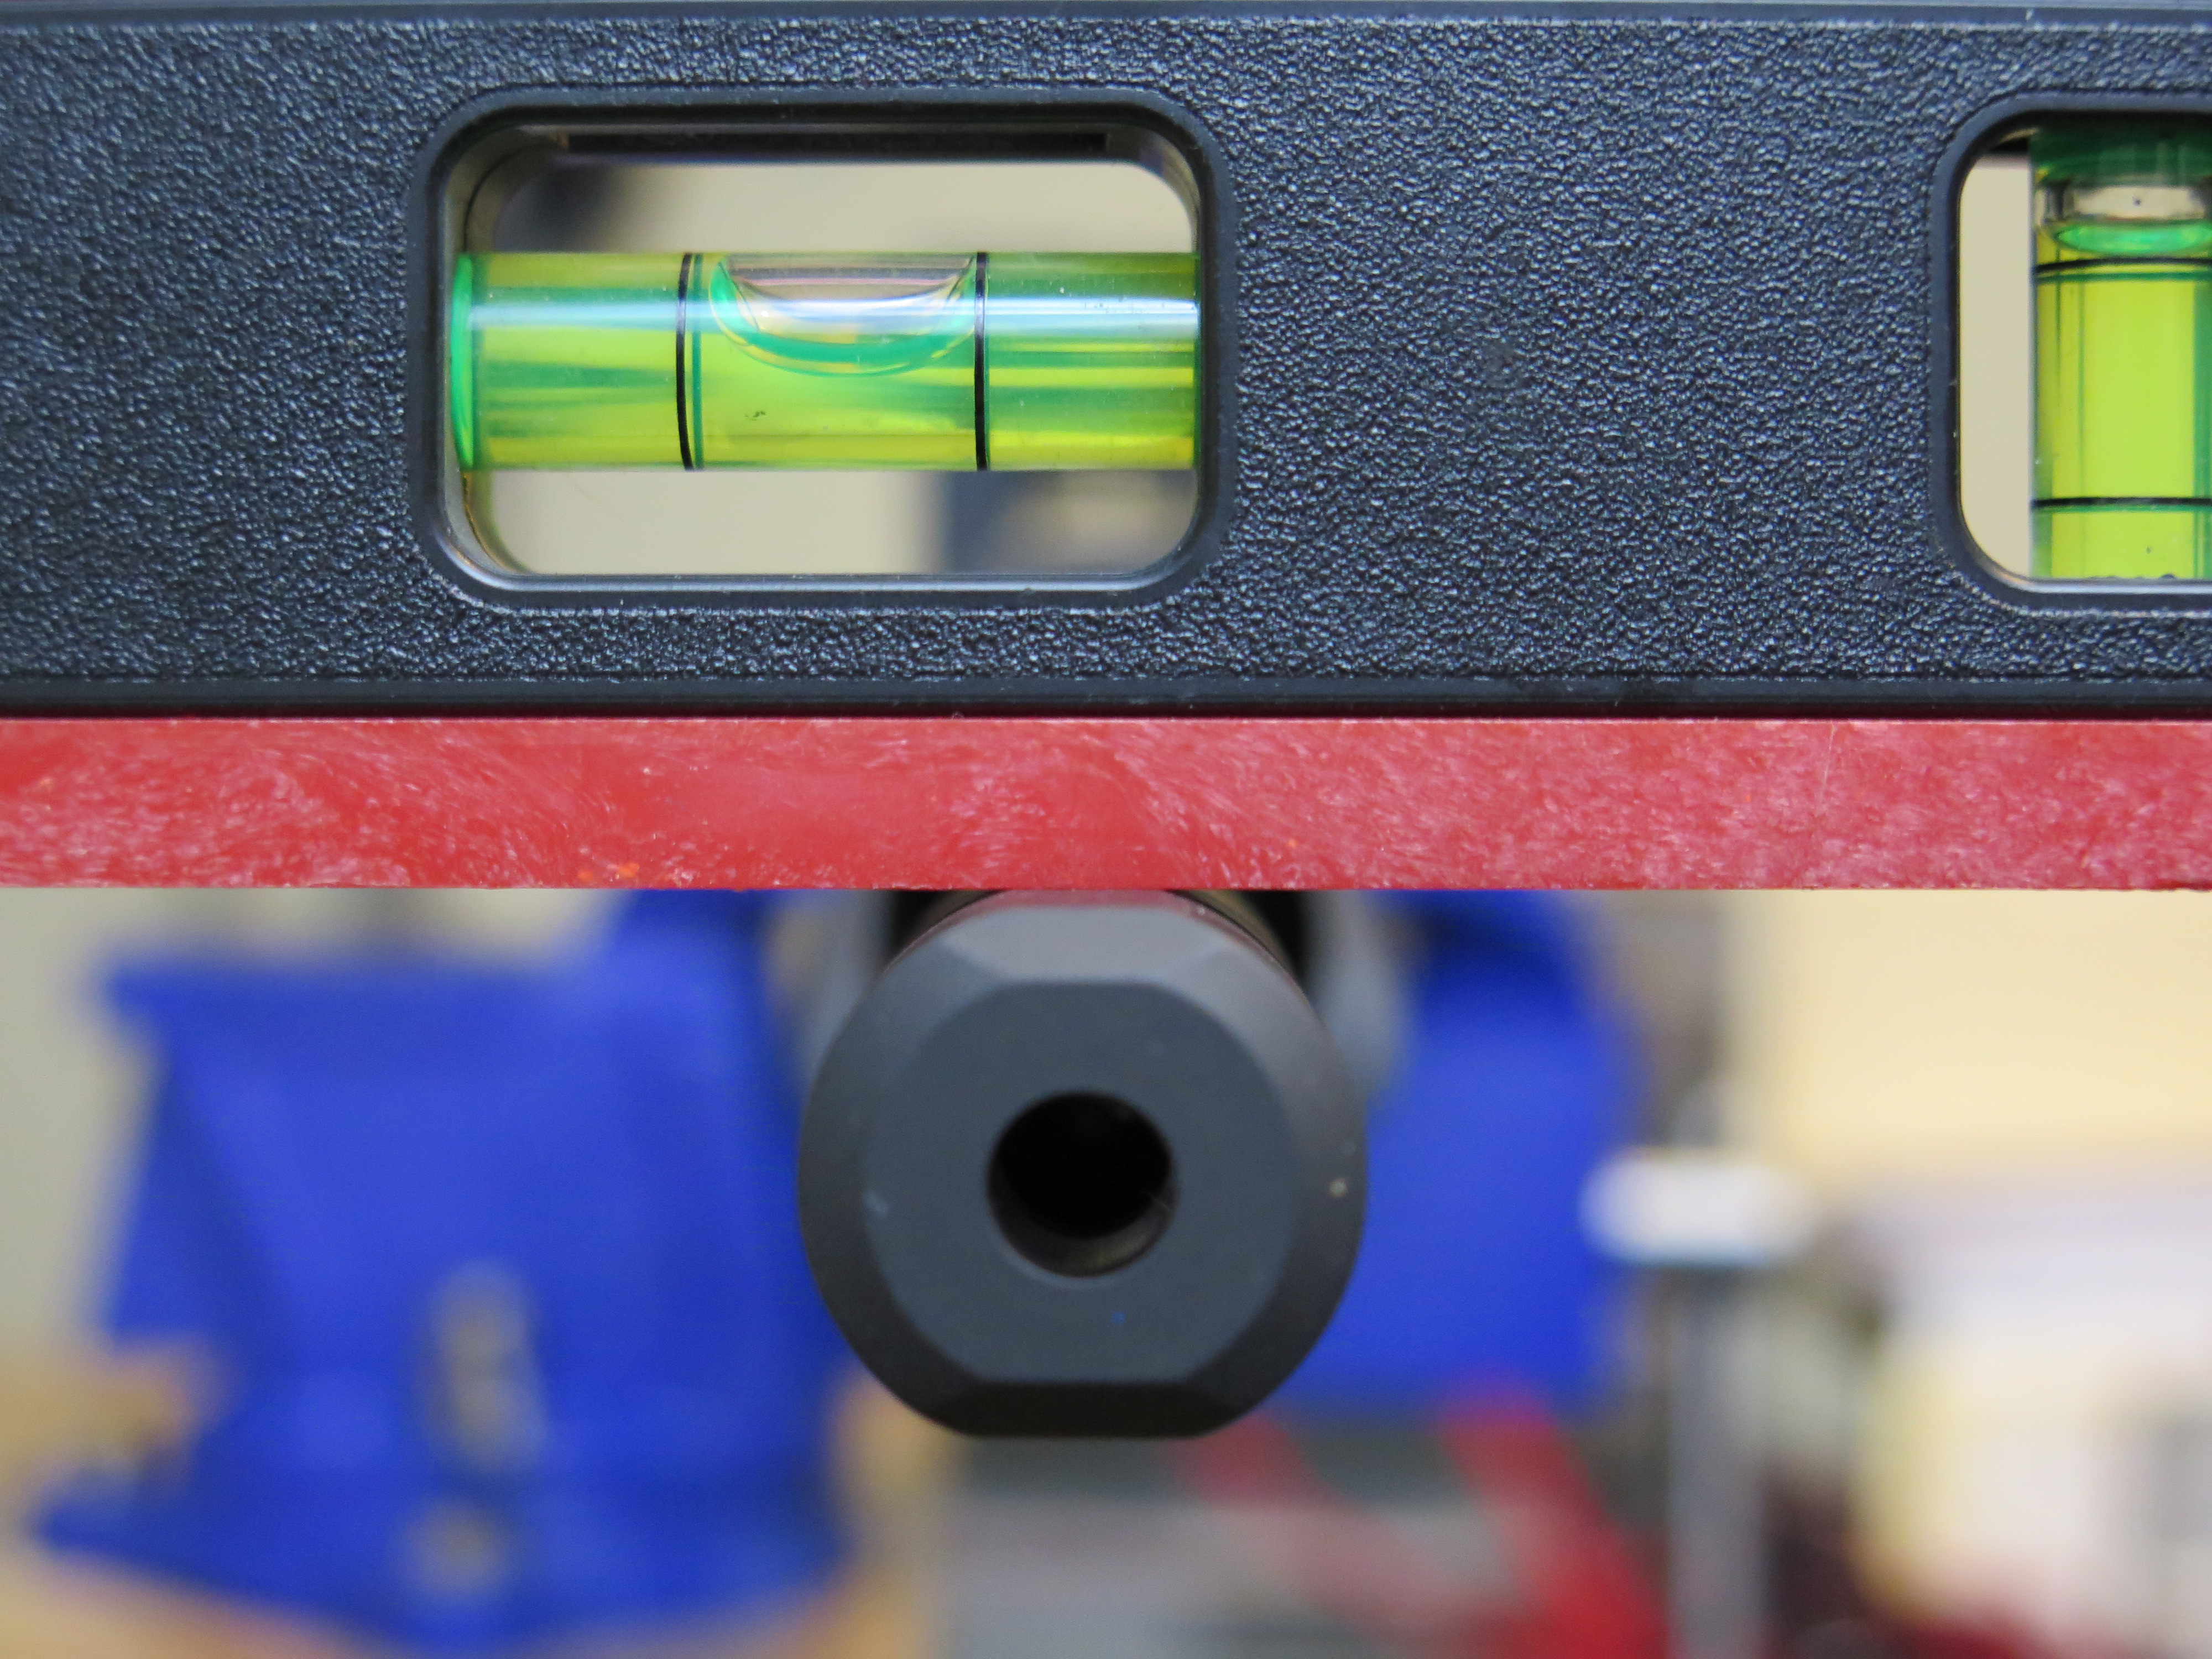
We use a small torpedo level to check alignment of the muzzle device to the rifle. With the upper receiver locked down in the vise clamp, lay the level on top of the receiver’s rail. Take note of the location of the bubble.
If you look closely at the photo above, you will notice that the right side of the bubble is touching the line on the right side of the level tube. This was done purposefully. We utilize a bench with adjustable feet when assembling firearms or installing scopes. The feet have been adjusted so that a level laid on the top of the reads exactly like the level pictured above. This removes any guesswork from reading the bubble in the center of the level tube.
In order for the compensator to be properly installed, a level laid on top of the receiver should read exactly the same as a level laid on top of the compensator. If the top of the compensator is not flat, or if the receiver is not a flat-top receiver, this process will be more difficult.
Note to barrel and muzzle device manufacturers: Proof marks would be really, really nice!
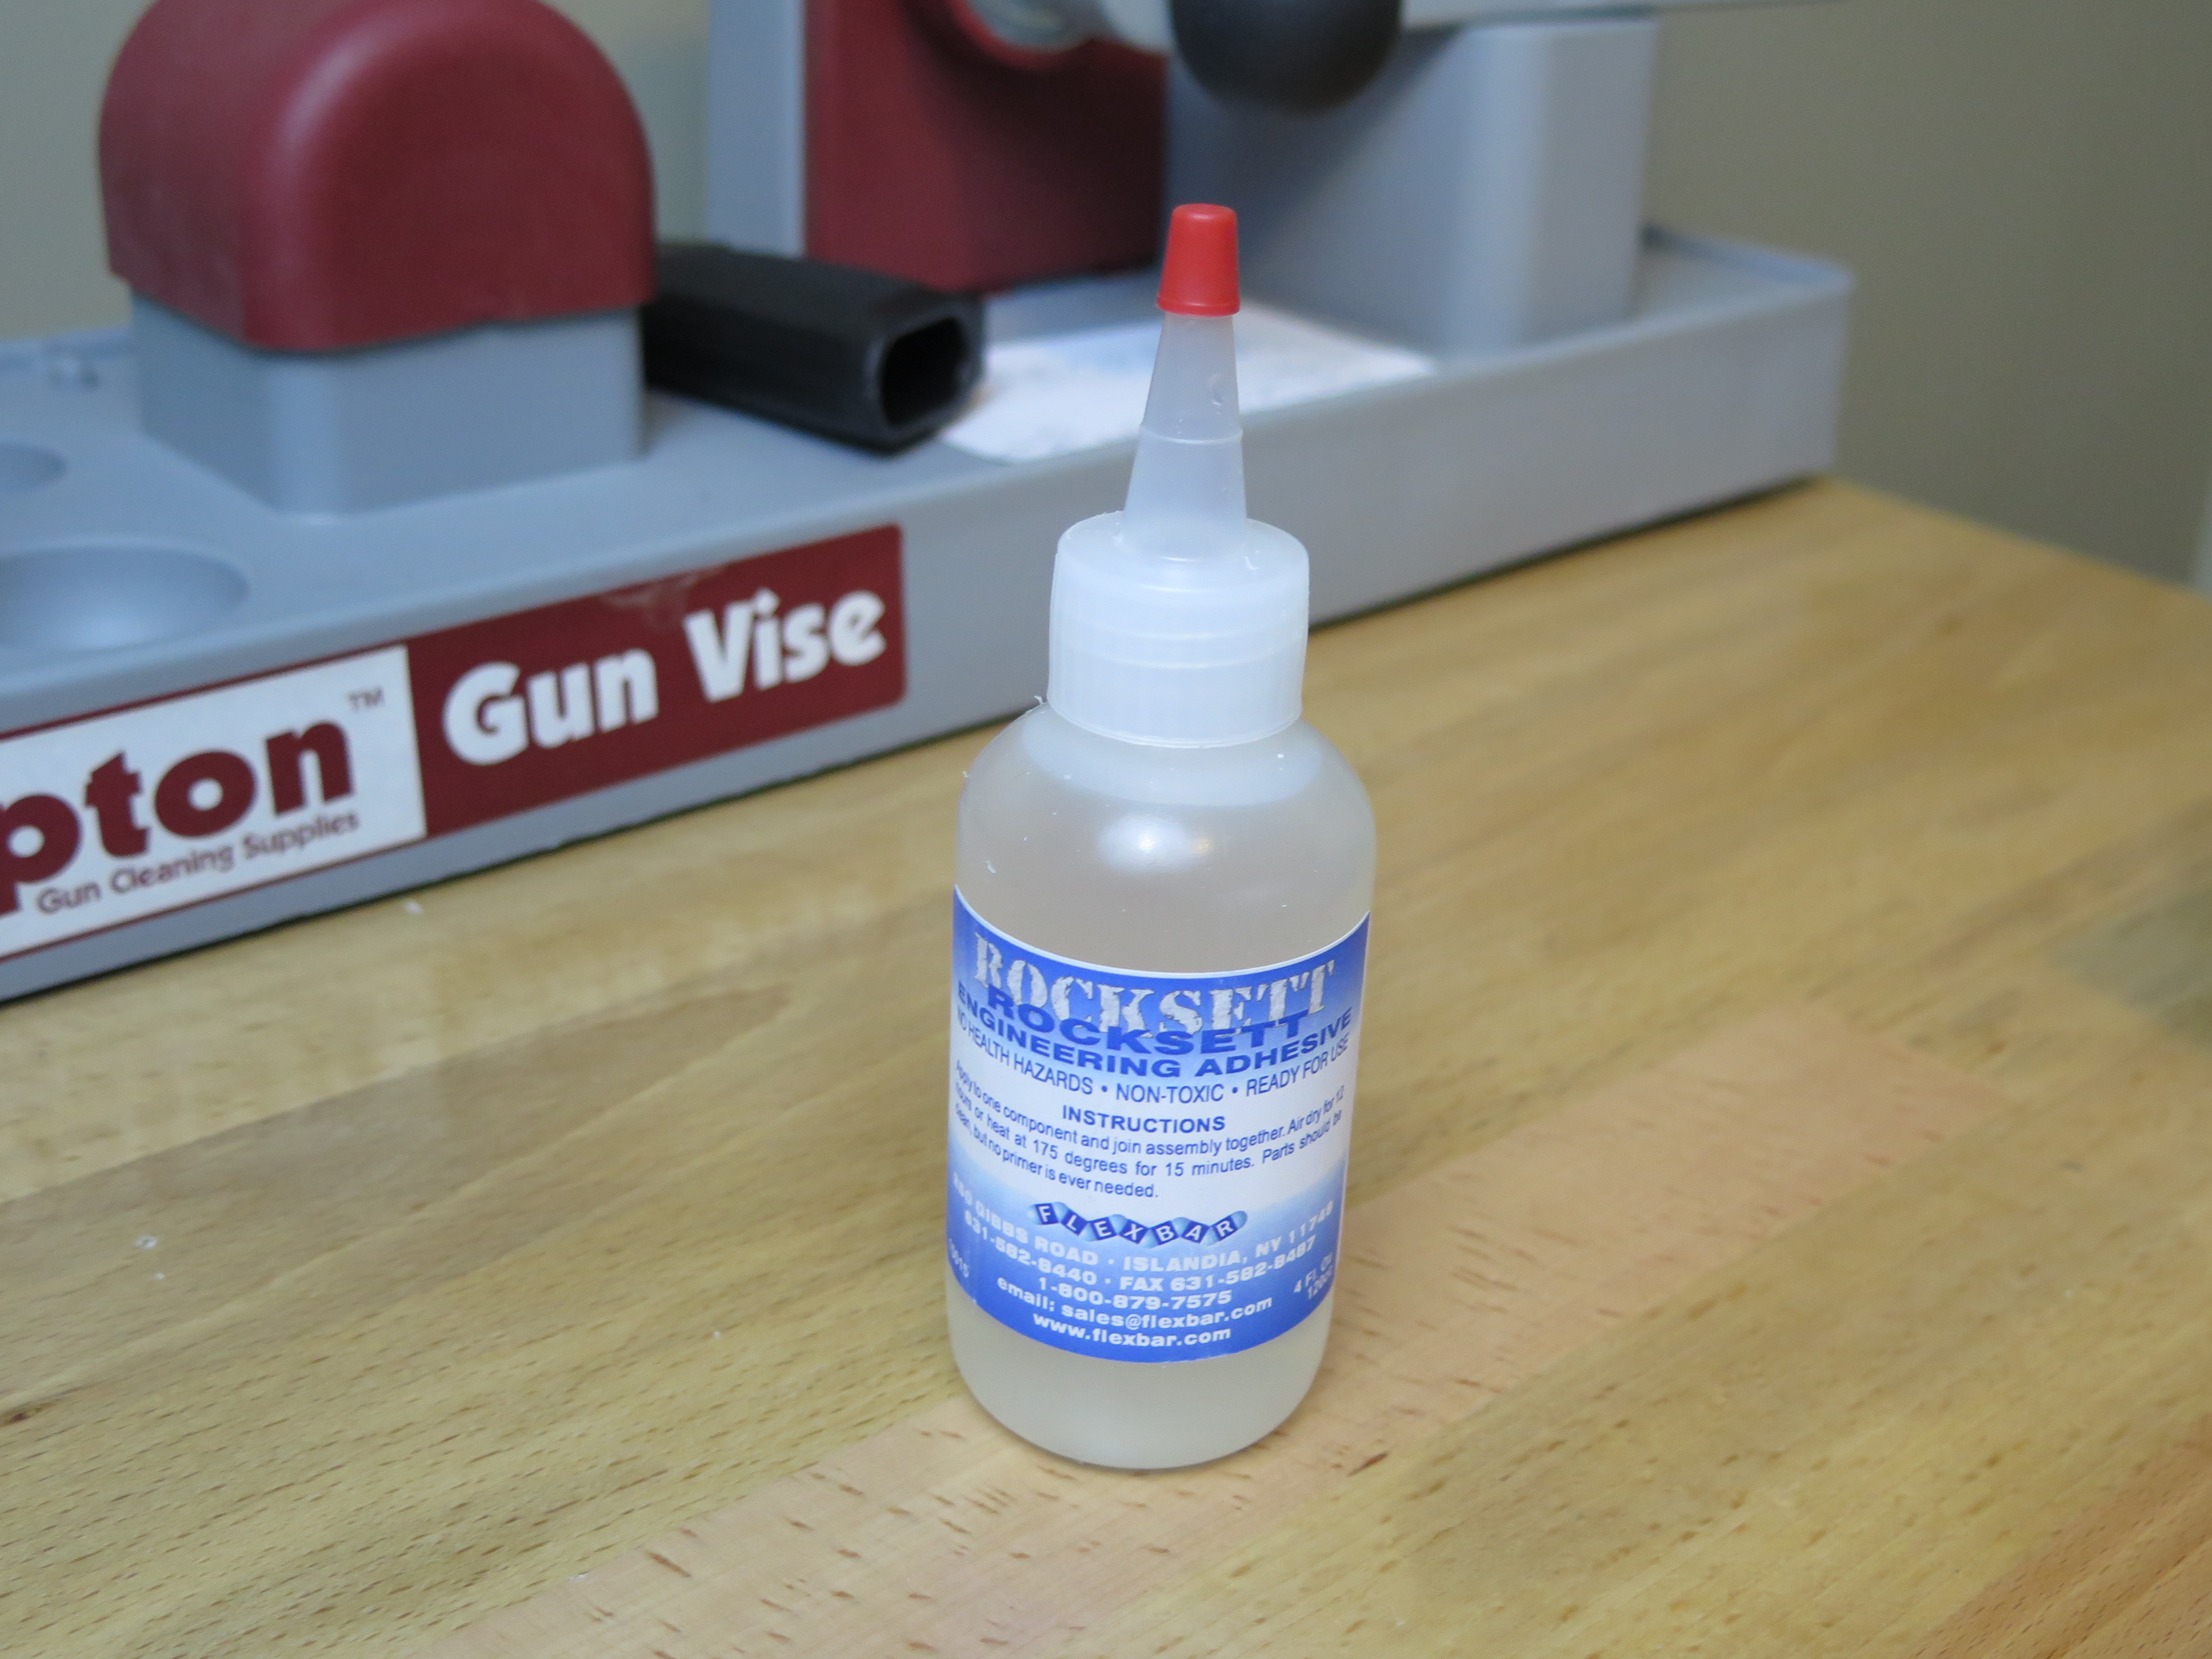
Prior to the final installation of the muzzle device, place a couple drops of high temperature adhesive on the threads of the muzzle. This will help keep the muzzle device from un-threading itself over time and flying off the end of the barrel. We use Rocksett adhesive.
That’s pretty much it. The hard parts are over. If you’re assembling your bolt carrier group (BCG), do so. Once you have an assembled BCG, slip your charging handle into your upper, slide in the BCG and ensure that it operates smoothly.